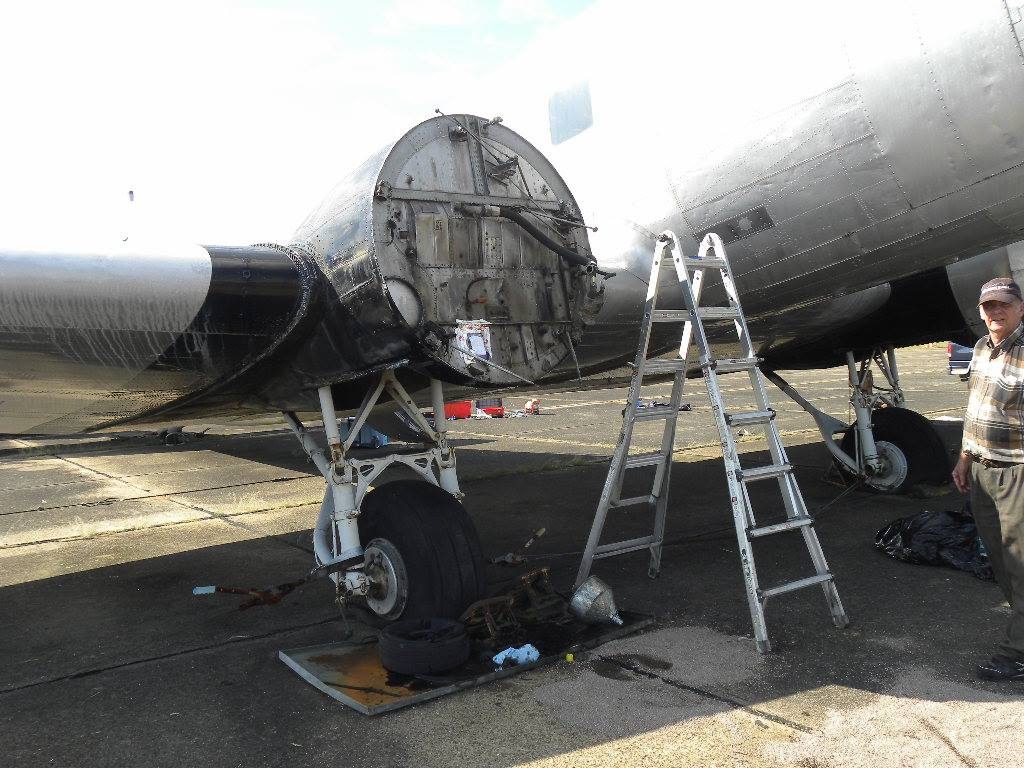
Much work and expense.


https://www.faa.gov/regulations_policies/handbooks_manuals/aircraft/amt_airframe_handbook/media/ama_Ch03.pdf
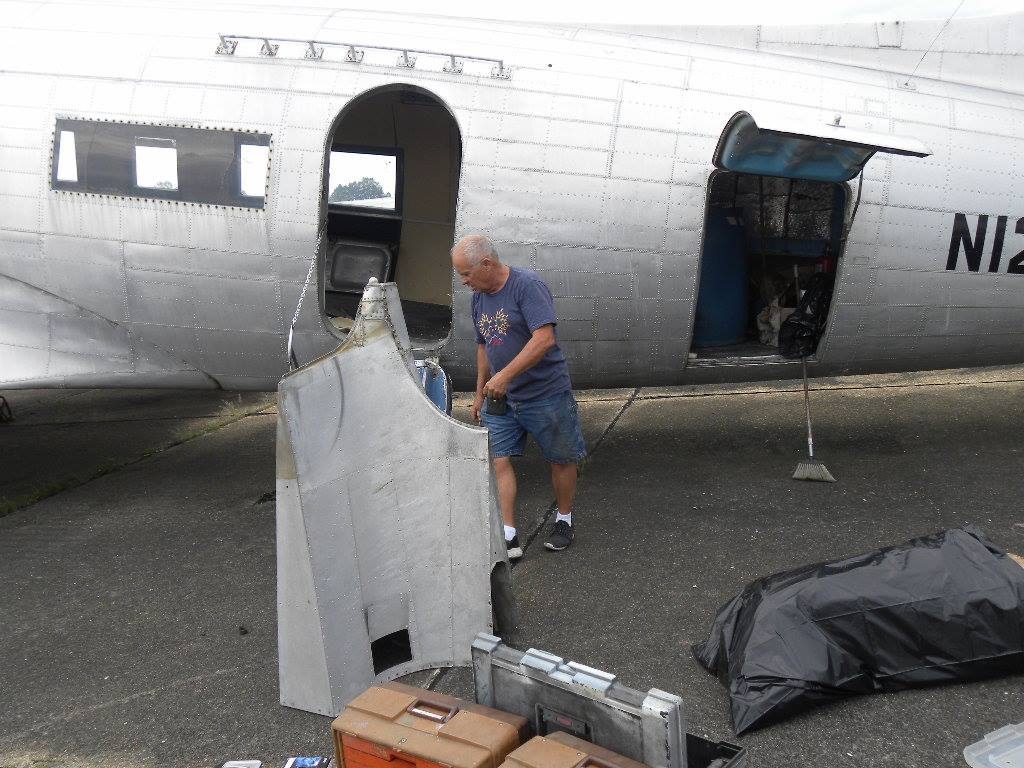
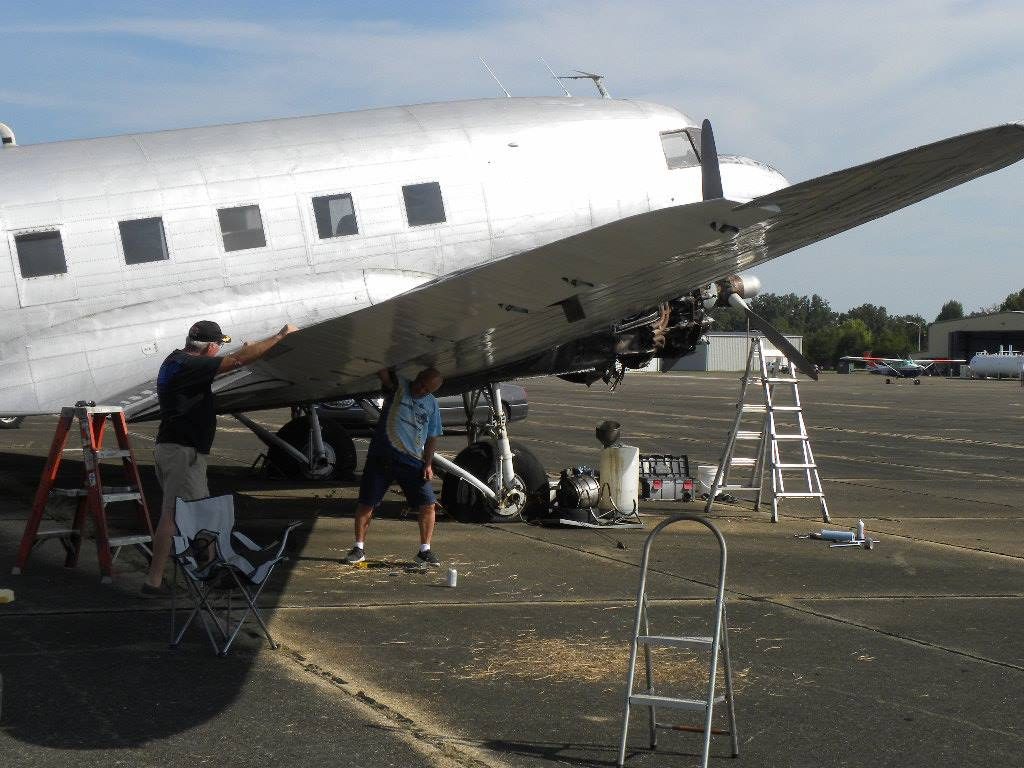
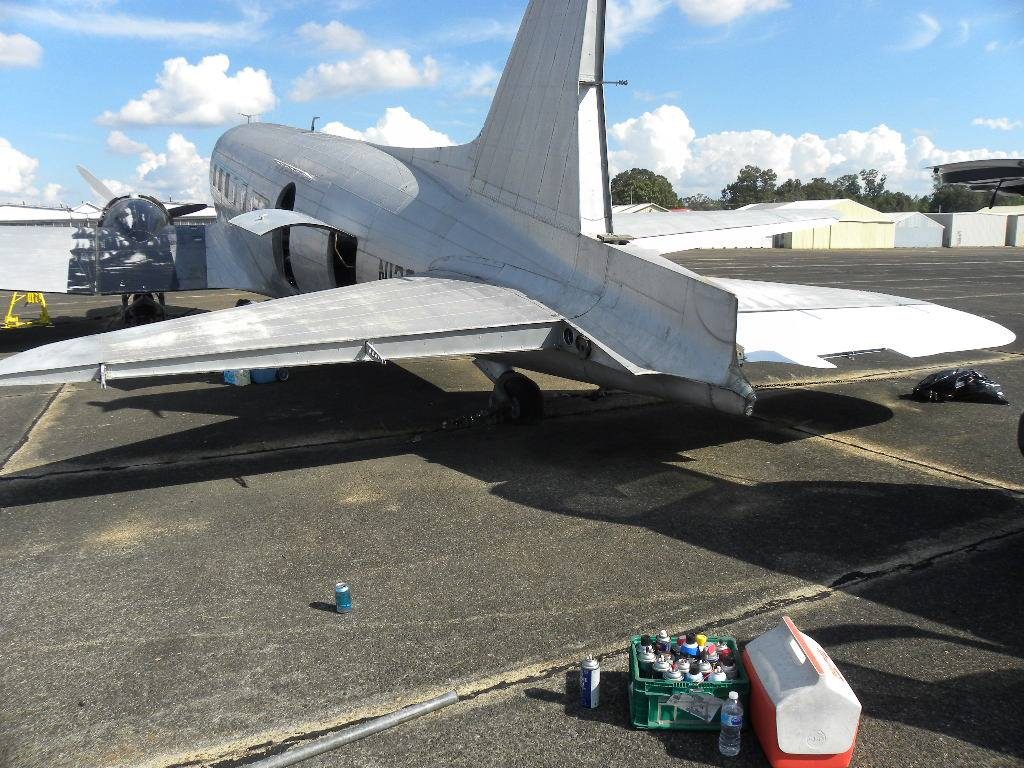
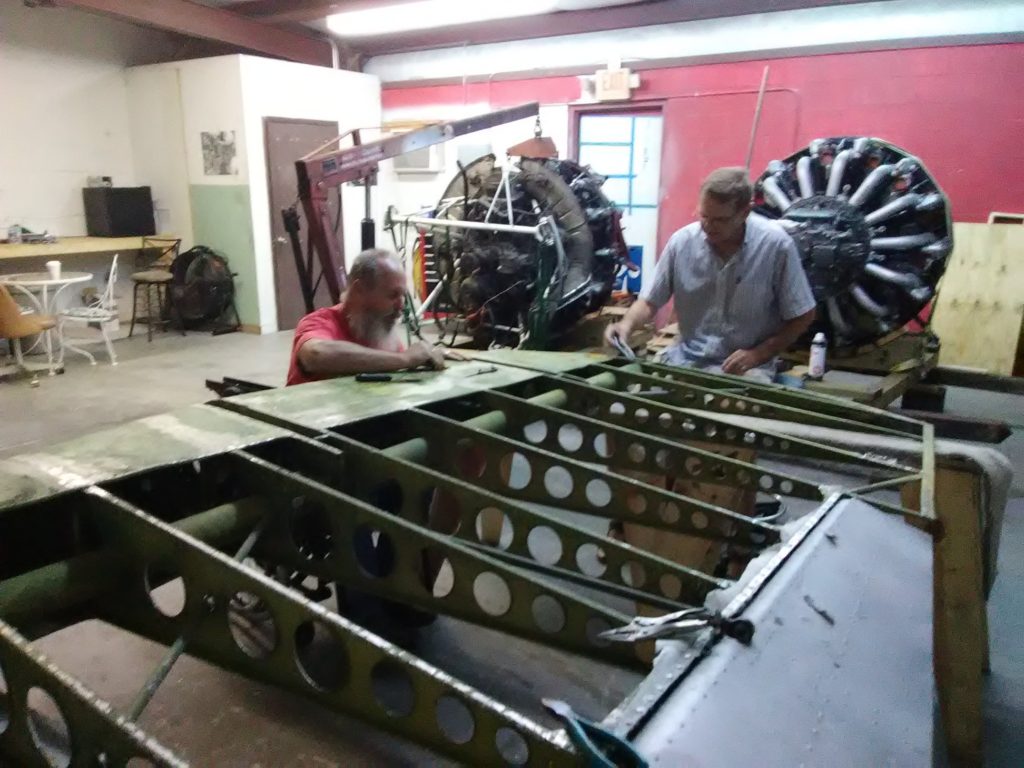
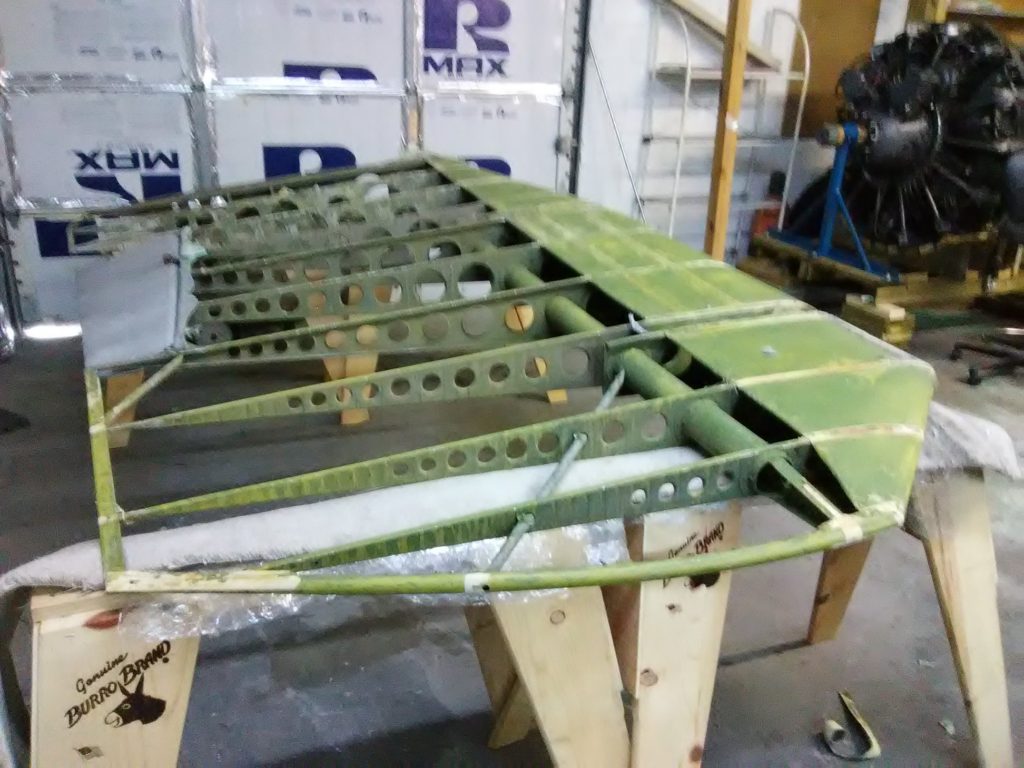
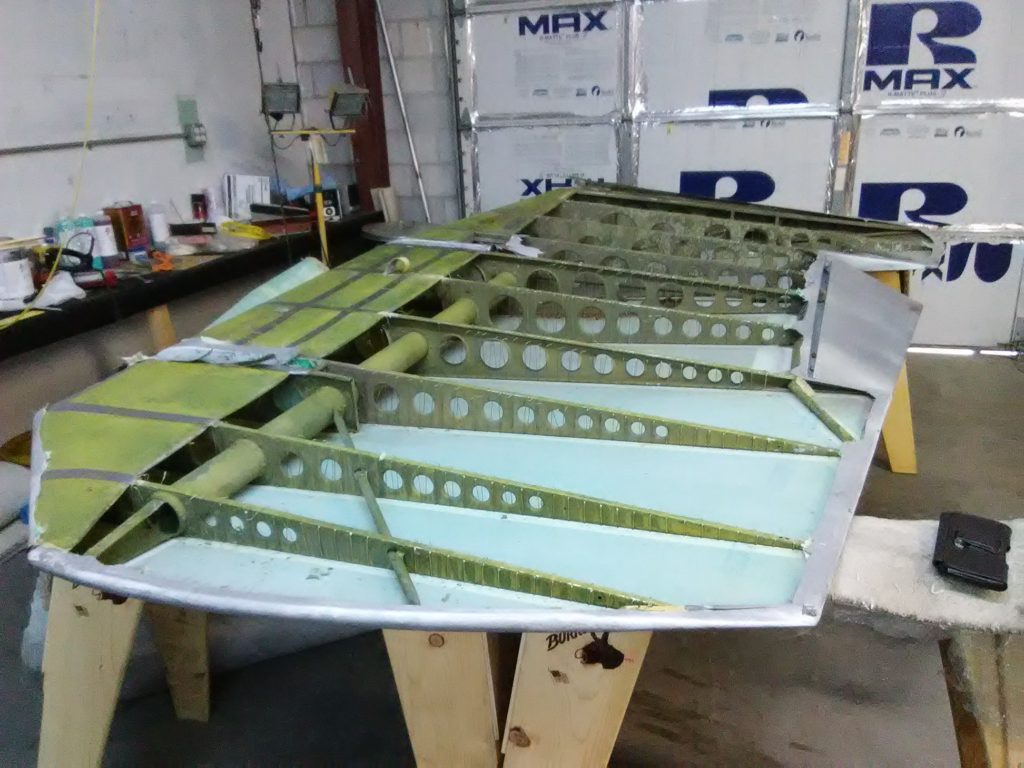
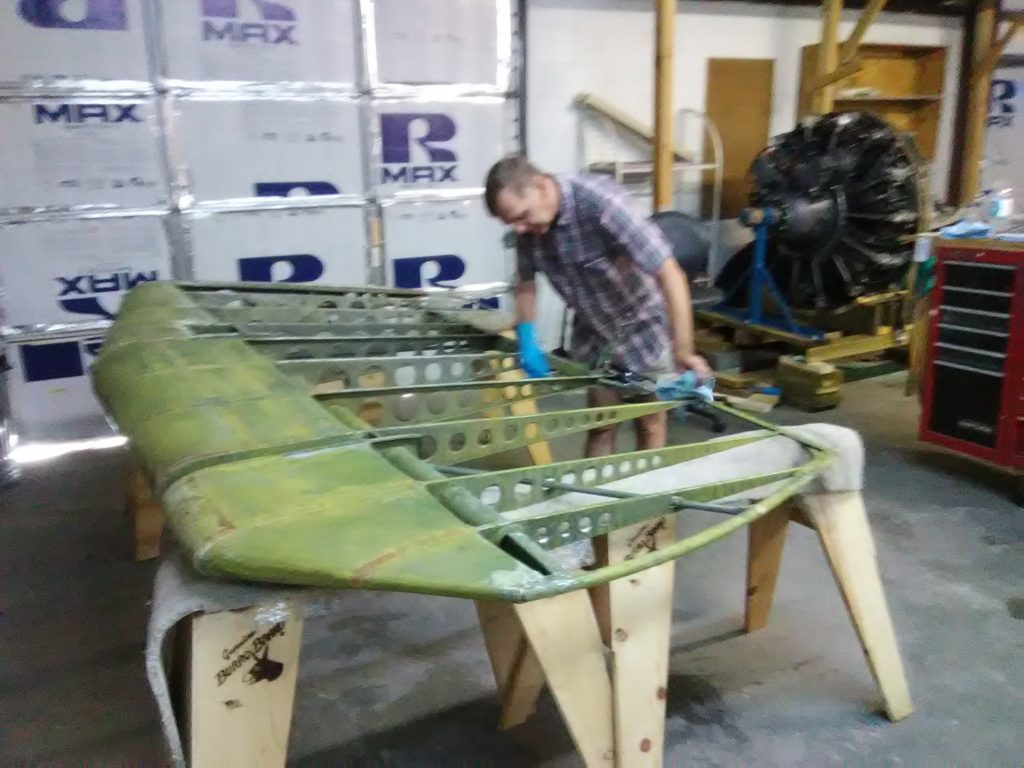
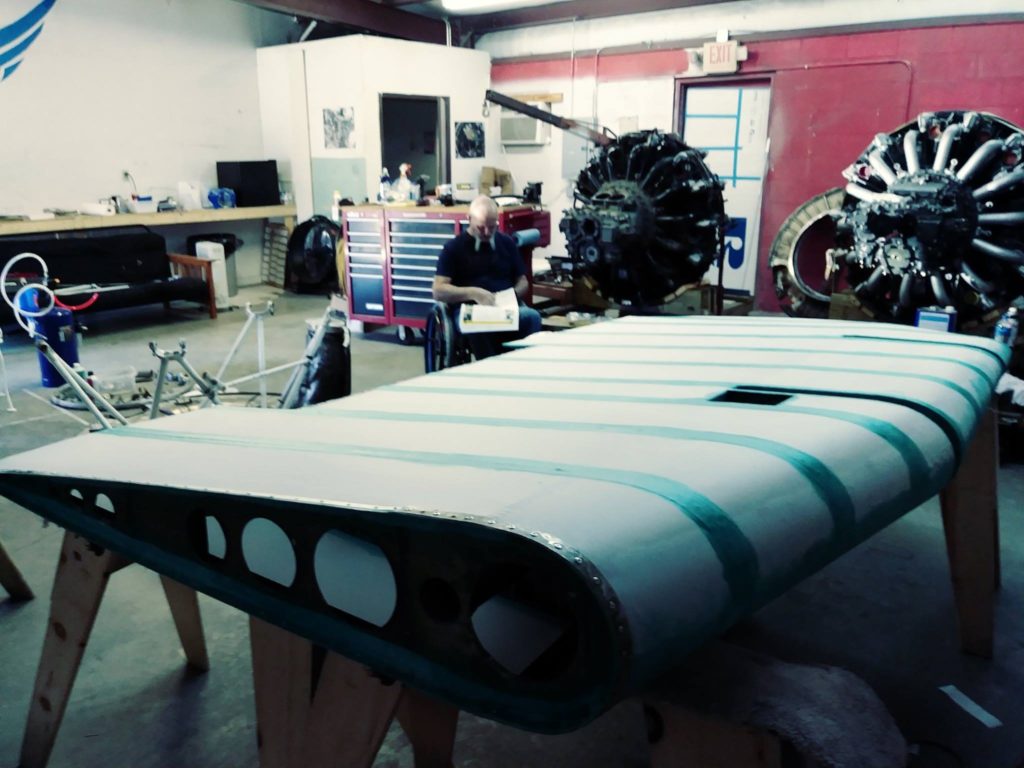
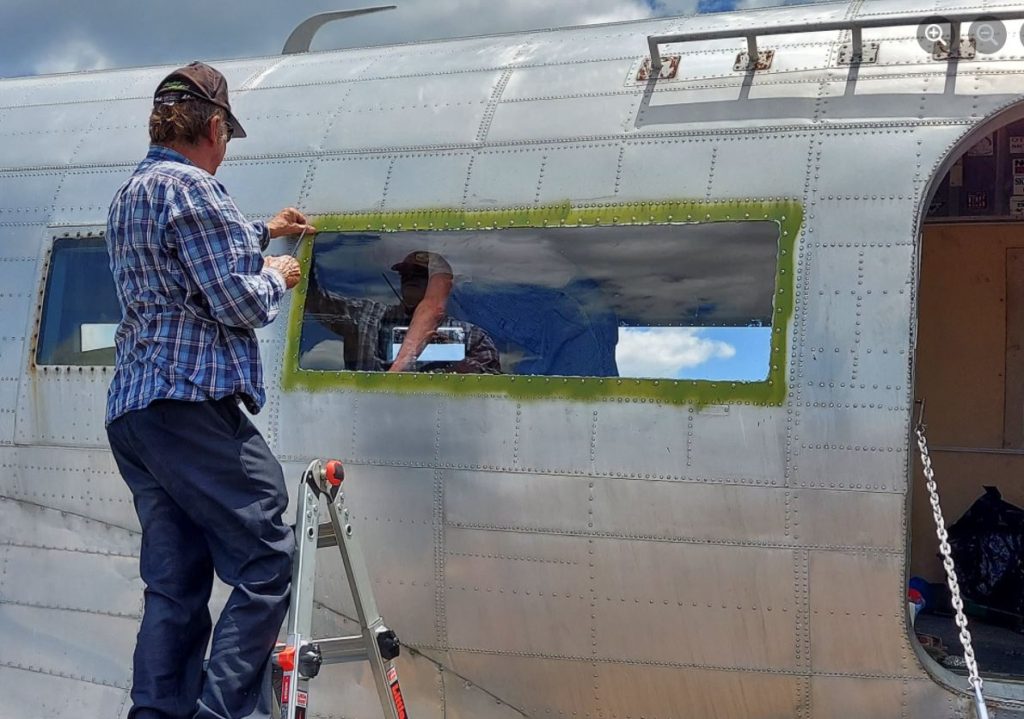
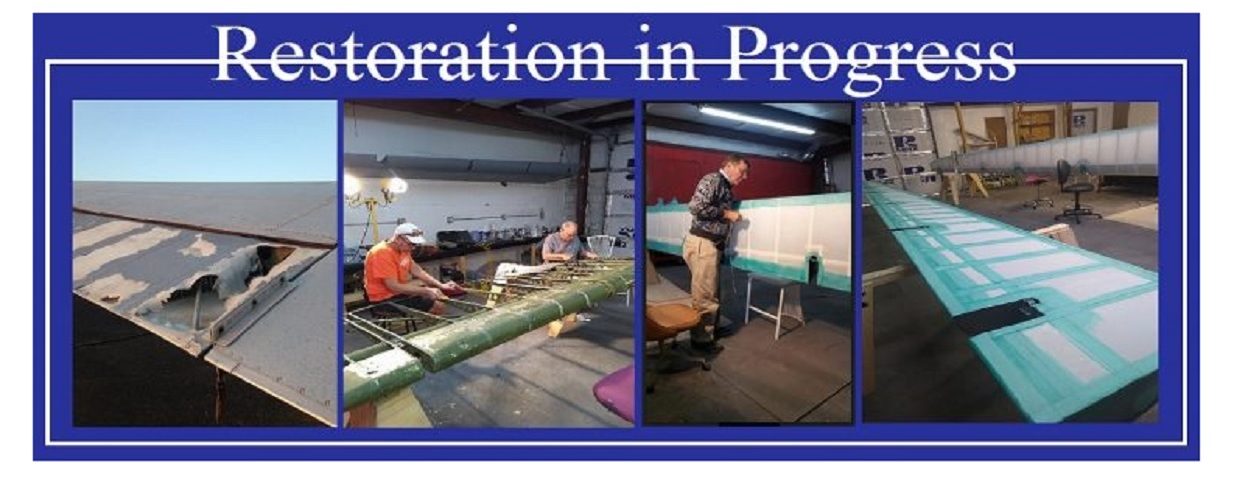
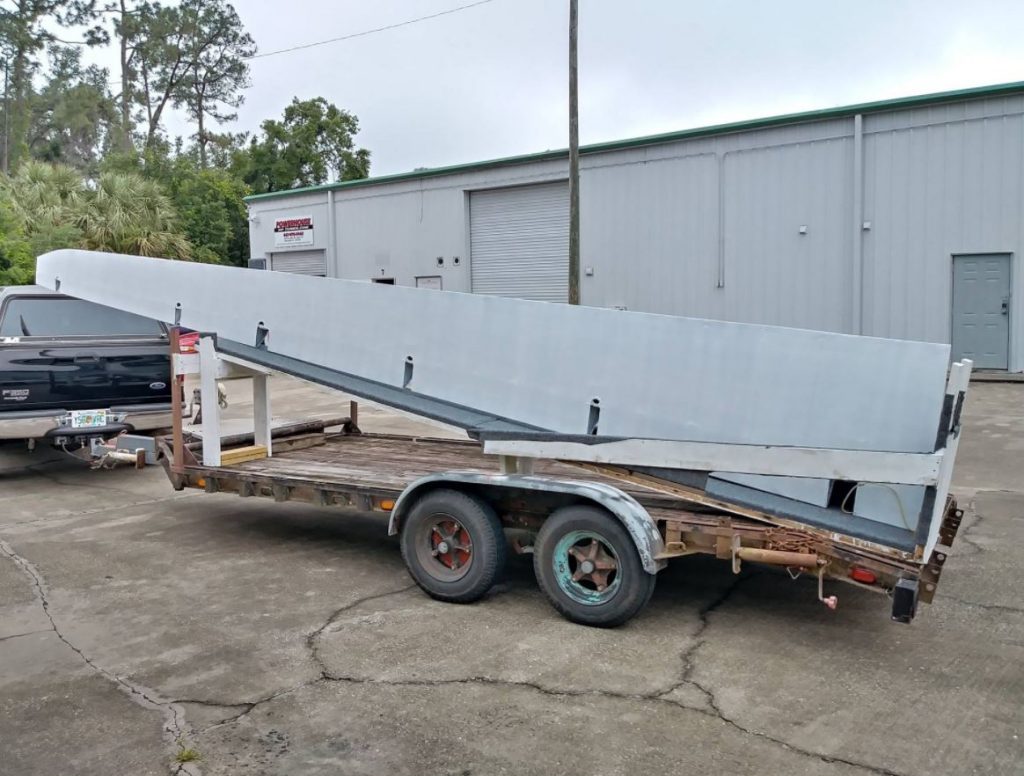
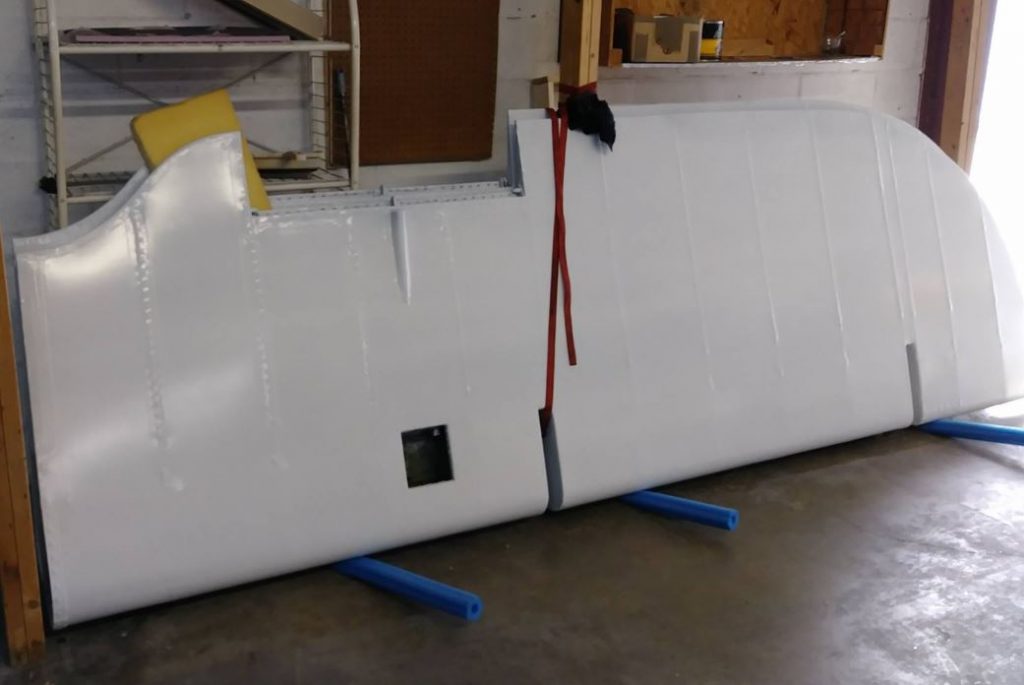
The old covering has to be removed in large sections in order to use it for templates when transferring inspection panels, cable guides, and other important features.
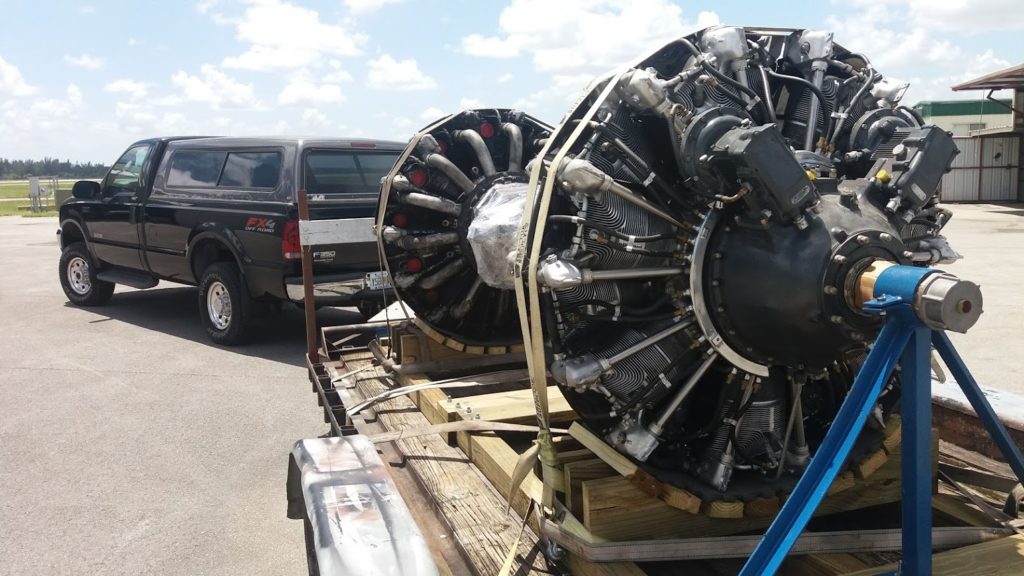
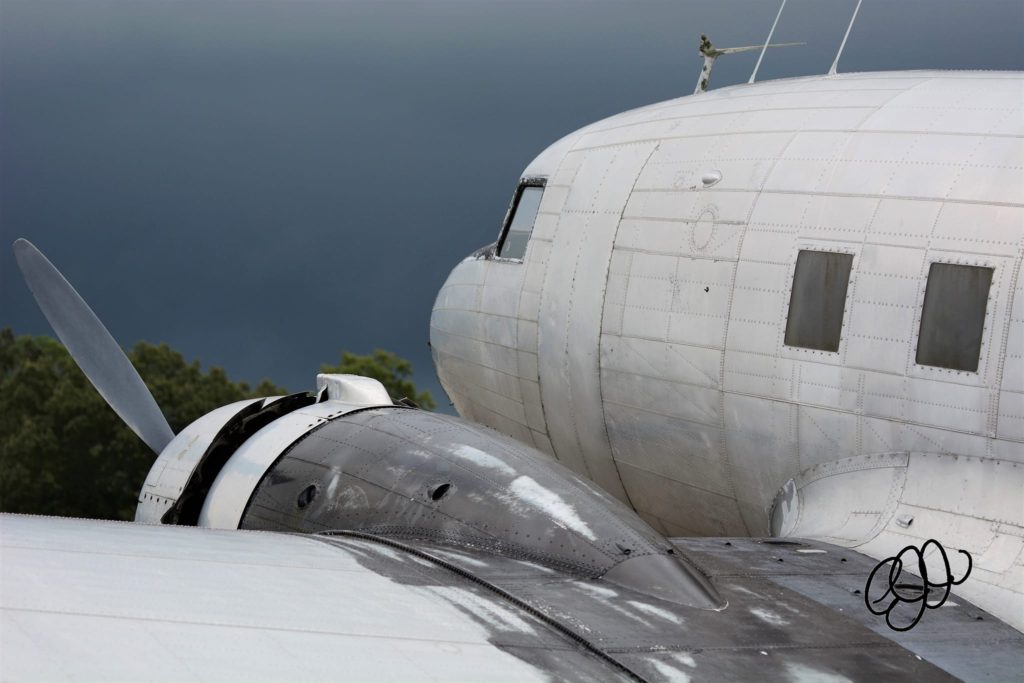
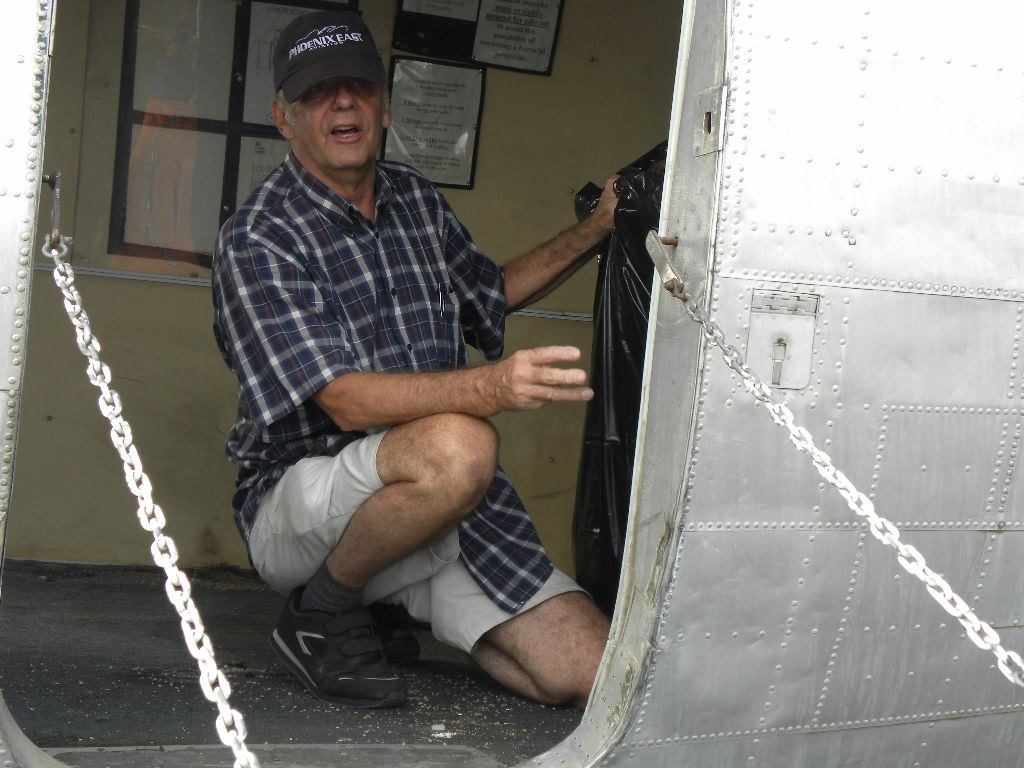
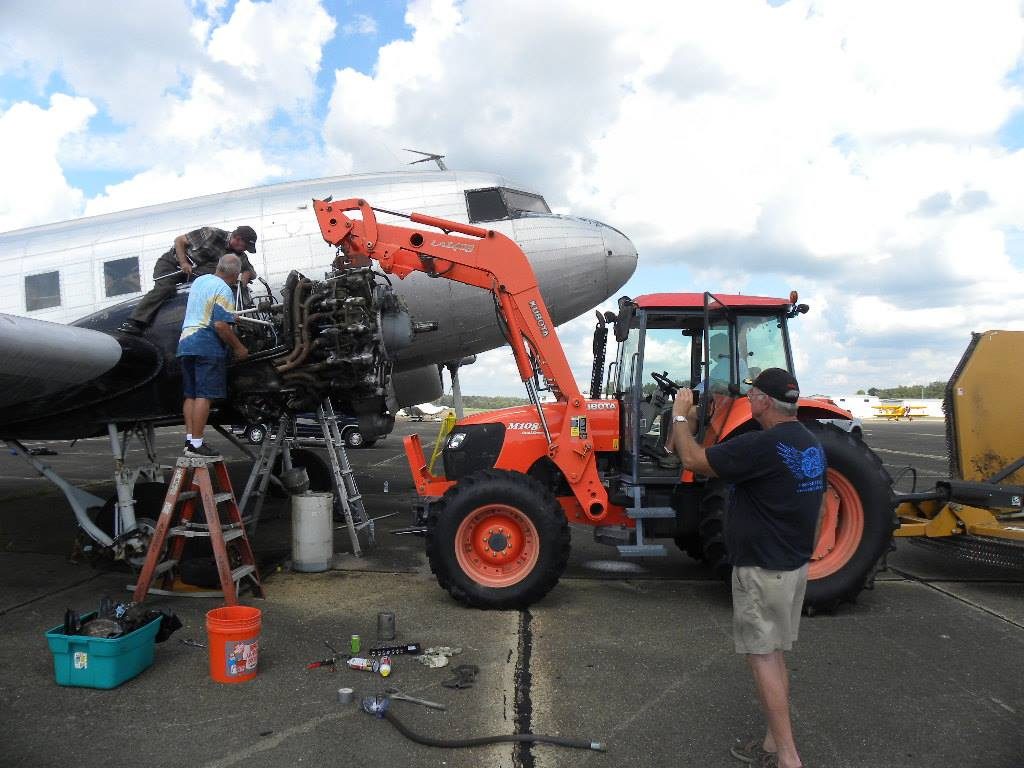
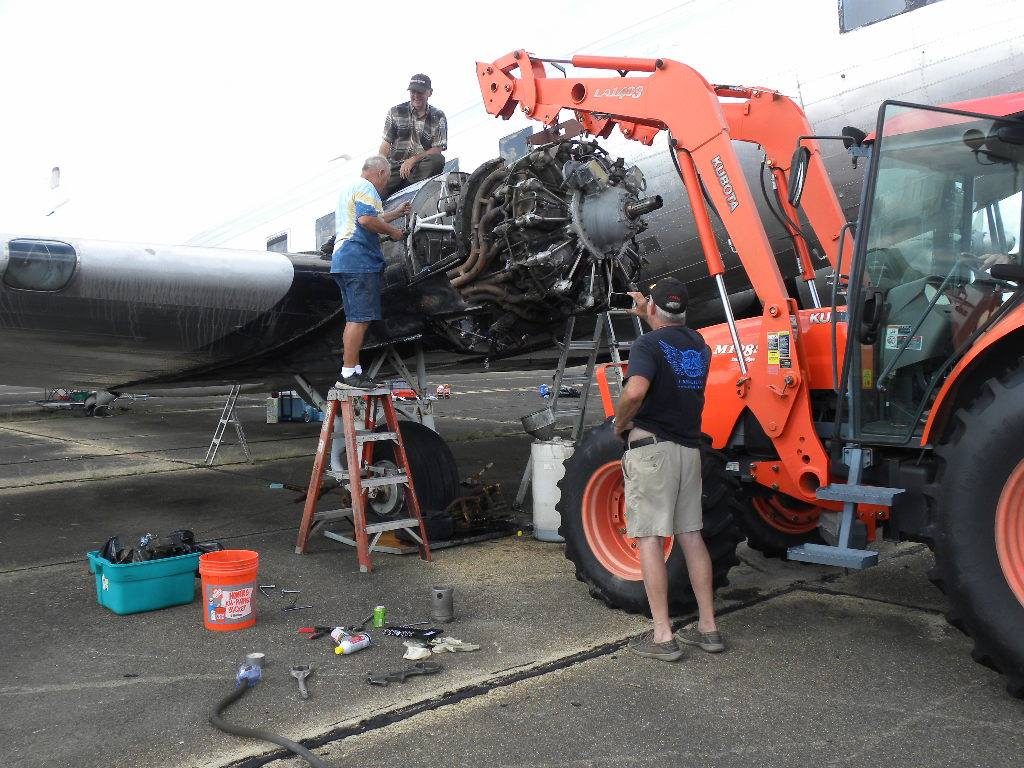
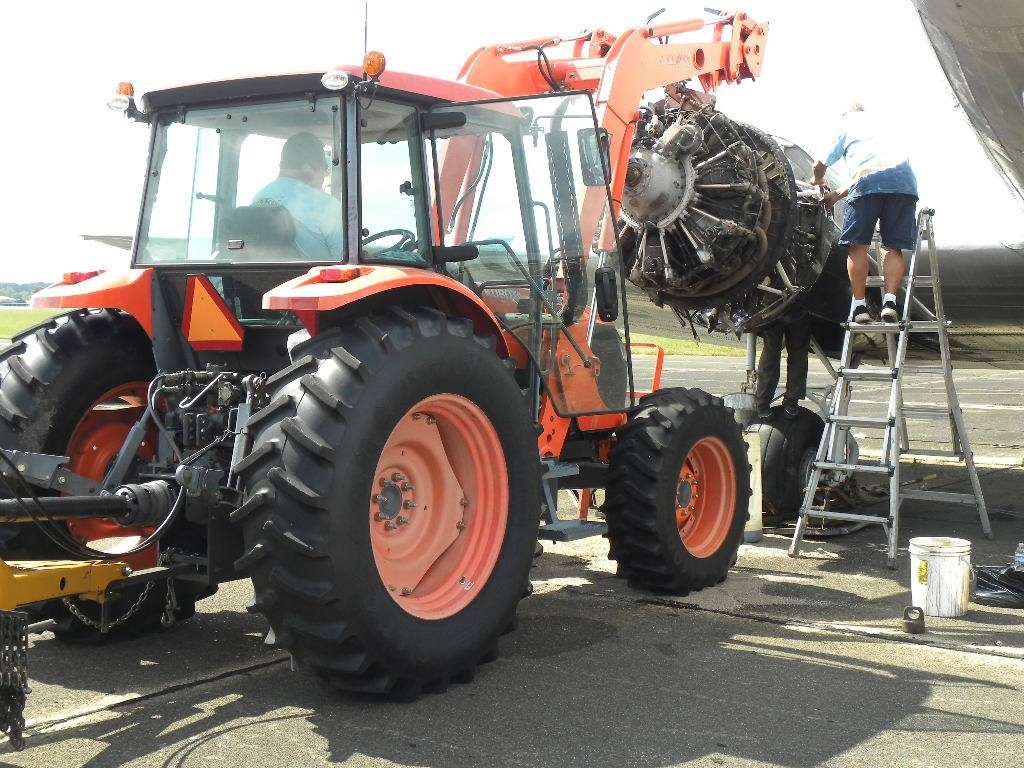
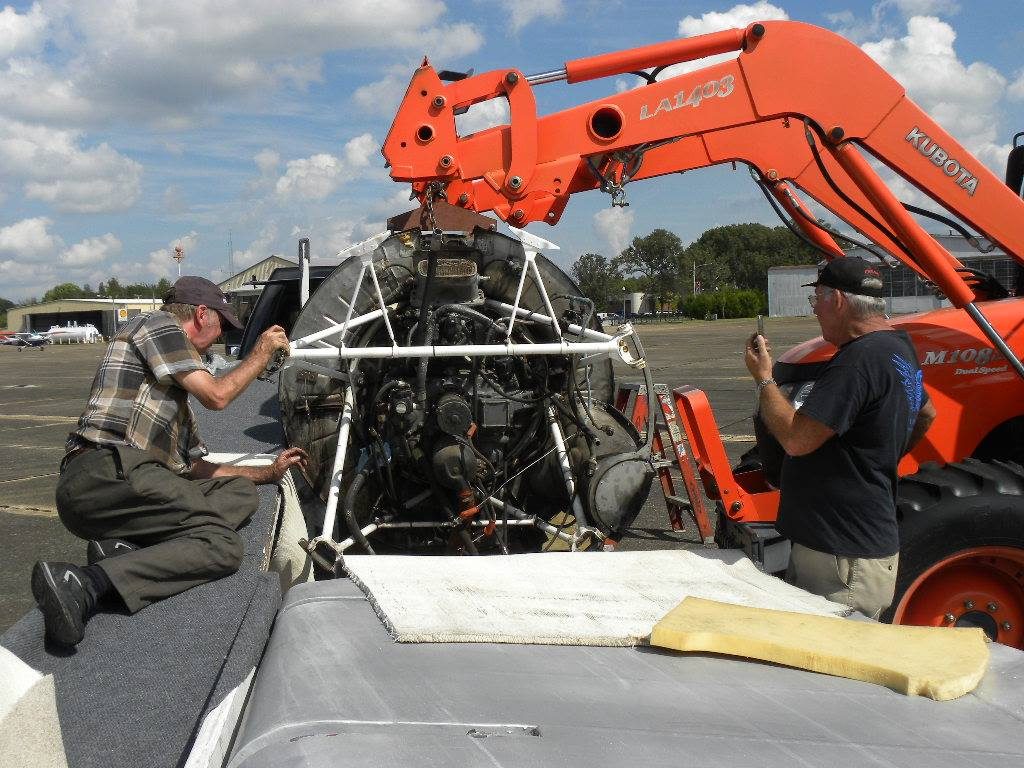
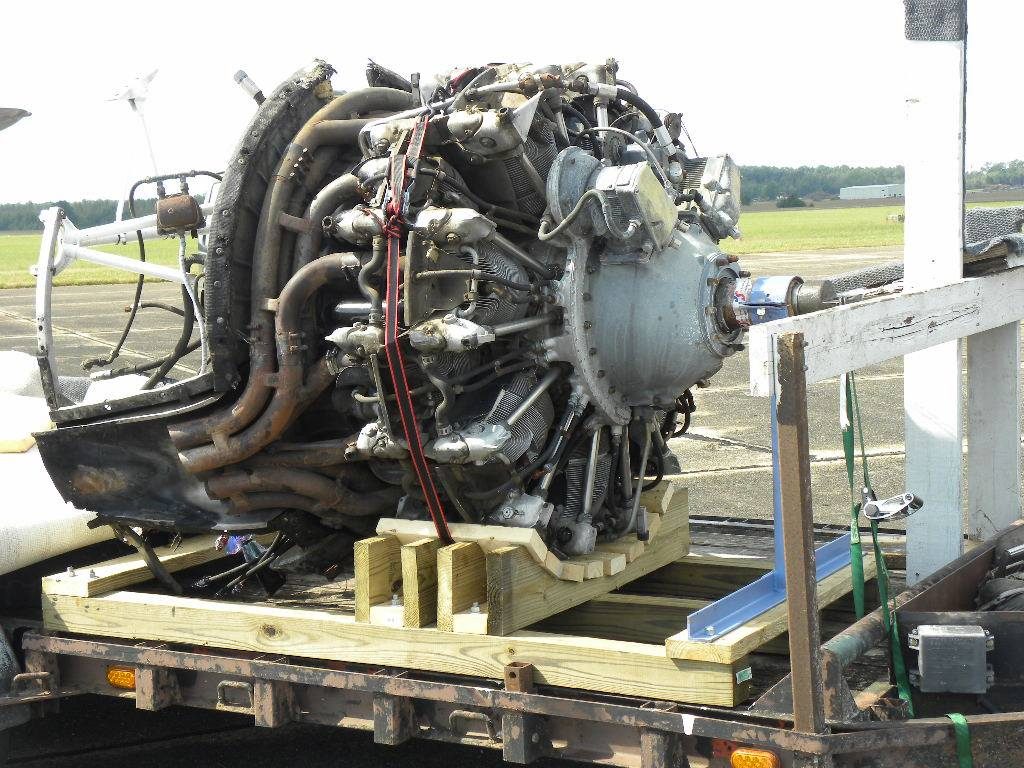
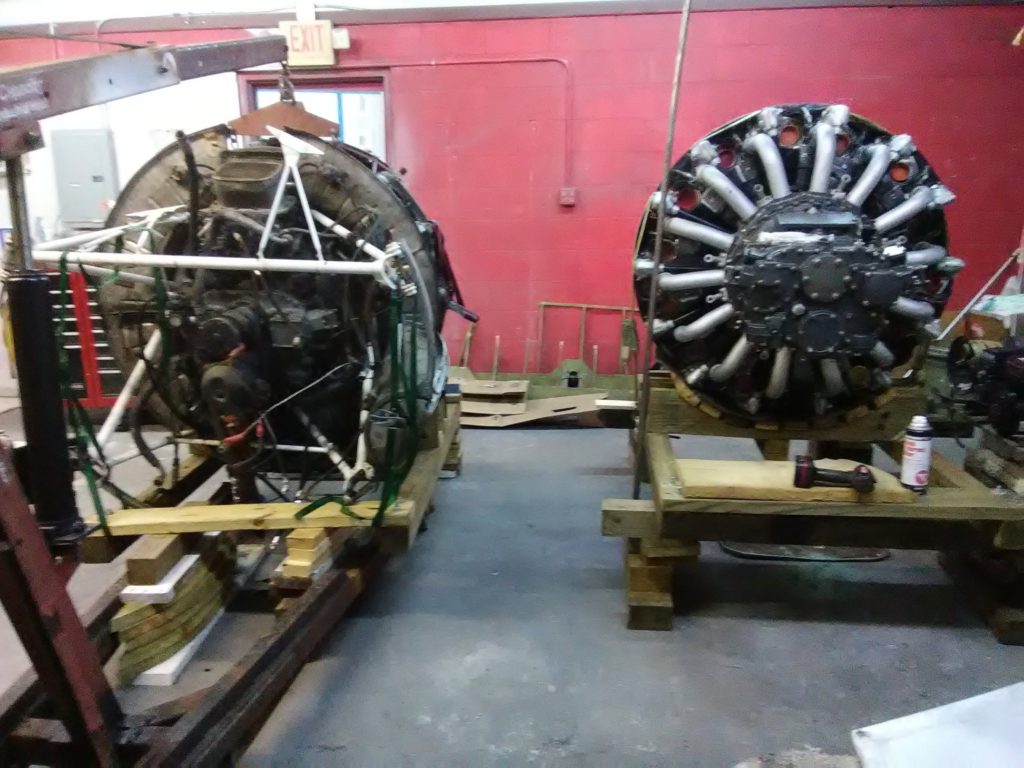
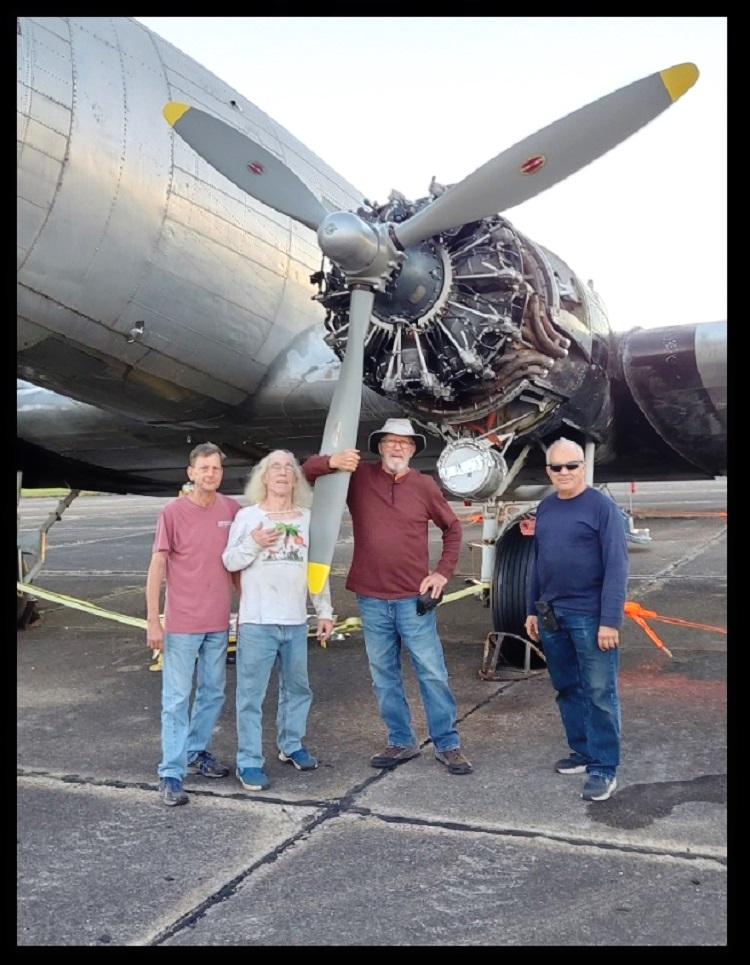
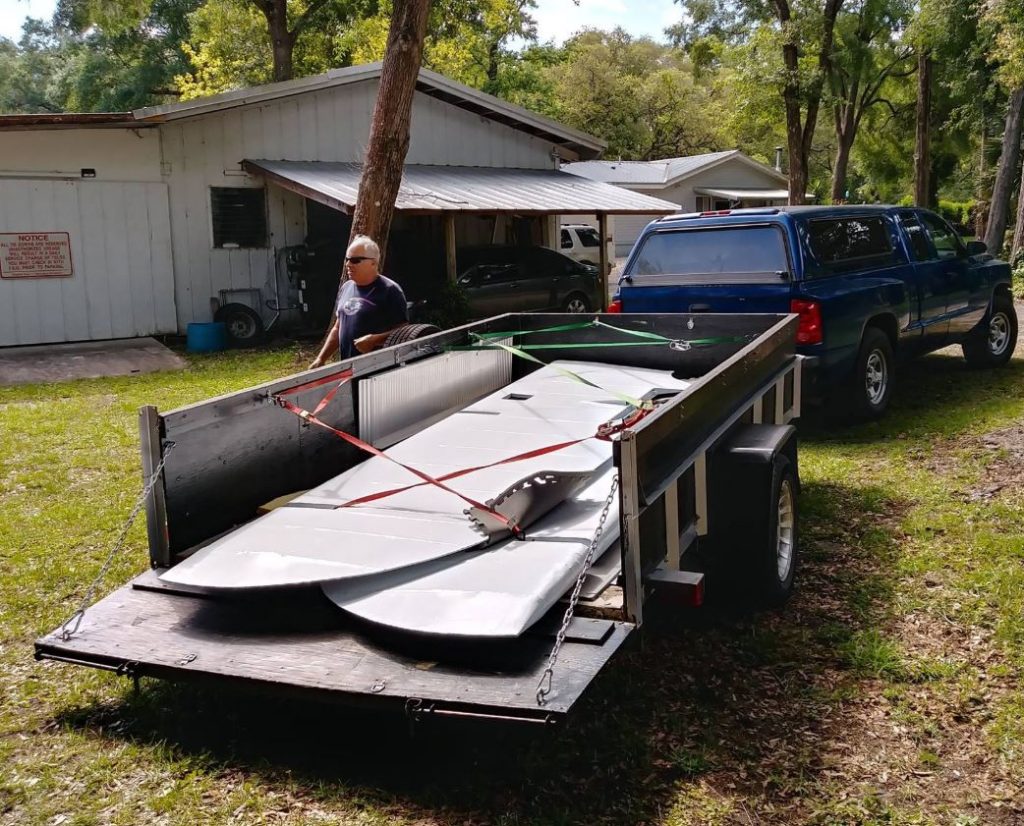
This costly and tedious restoration process has already begun at a facility near the DeLand Municipal Airport in central Florida.
Fabric-covered aircraft have played an important role in the history of aviation. The famous Wright Flyer utilized a fabric-covered wood frame in its design. Fabric coverings continued to be used by many aircraft designers and builders during the early decades of aircraft production.
Fabric coverings on aircraft offer one primary advantage: light weight. But fabric coverings have two disadvantages: flammability and less durability.
Legal Aspects of Fabric Covering
When a fabric-covered aircraft is certificated, the aircraft manufacturer uses materials and techniques to cover the aircraft that are approved under the type certificate issued for that aircraft. The same materials and techniques must be used by maintenance personnel when replacing the aircraft fabric.
Descriptions of these materials and techniques are in the manufacturer’s service manual. For example, aircraft originally manufactured with cotton fabric can only be re-covered with cotton fabric unless the Federal Aviation Administration (FAA) approves an exception. Approved exceptions for alternate fabric-covering materials and procedures are common. Since polyester fabric coverings deliver performance advantages — such as lighter weight, longer life, additional strength, and lower cost — many older aircraft originally manufactured with cotton fabric have received approved alteration authority and have been re-covered with polyester fabric.
Fabric
A Technical Standard Order (TSO) is a minimum performance standard issued by the FAA for specified materials, parts, processes, and appliances used on civil aircraft. For example, TSO-15d, Aircraft Fabric, Grade A, prescribes the minimum performance standards that approved aircraft fabric must meet. Fabric that meets or exceeds the TSO can be used as a covering. Fabric approved to replace Grade-A cotton, such as polyester, must meet the same criteria.
TSO-15d also refers to another document, Society of Automotive Engineers (SAE) Aerospace Material Specification (AMS) 3806D, which details properties a fabric must contain to be an approved fabric for airplane cloth. Lighter weight fabrics typically adhere to the specifications in TSO-C14b, which refers to SAE AMS 3804C. When a company is approved to manufacture or sell an approved aviation fabric, it applies for and receives a Parts Manufacturing Approval (PMA).
Currently, only a few approved fabrics are used for aircraft coverings, such as the polyester fabrics Ceconite™, Stits/Polyfiber™, and Superflite™. These fabrics and some of their characteristics are shown in Figure 3-4. The holders of the PMA for these fabrics have also developed and gained approval for the various tapes, cords, threads, and liquids that are used in the covering process. These approved materials, along with the procedures for using them, constitute the STCs for each particular fabric covering process. Only the approved materials can be used. Substitution of other materials is forbidden and results in the aircraft being un-airworthy.
Other Fabric Covering Materials
The following is an introduction to the supplemental materials used to complete a fabric covering job per manufacturer’s instruction or an STC.
Surface Tape
Surface tape, made of polyester material and often preshrunk, is obtained from the STC holder. This tape, also known as finishing tape, is applied after the fabric is installed. It is used over seams, ribs, patches, and edges. Surface tape can have straight or pinked edges and comes in various widths.
For curved surfaces, bias cut tape is available, which allows the tape to be shaped around a radius.
Rib Lacing Cord
Rib lacing cord is used to lace the fabric to the wing ribs. It must be strong and applied as directed to safely transfer in-flight loads from the fabric to the ribs. Rib lacing cord is available in a round or flat cross section. The round cord is easier to use than the flat lacing, but if installed properly, the flat lacing results in a smoother finish over the ribs.
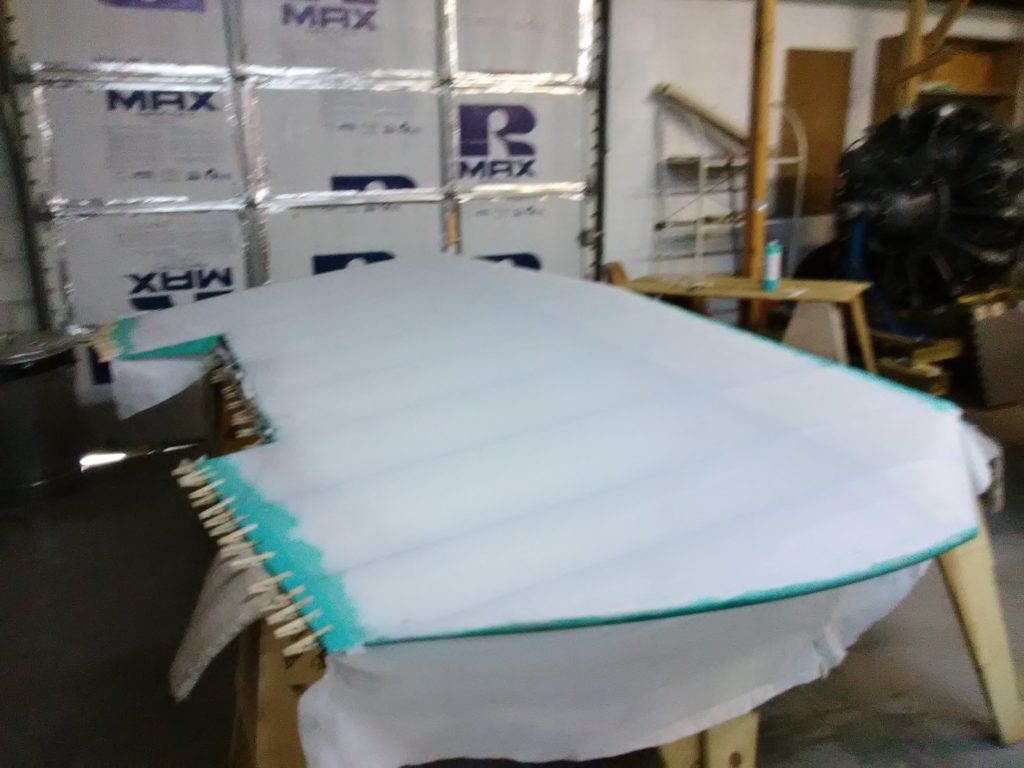
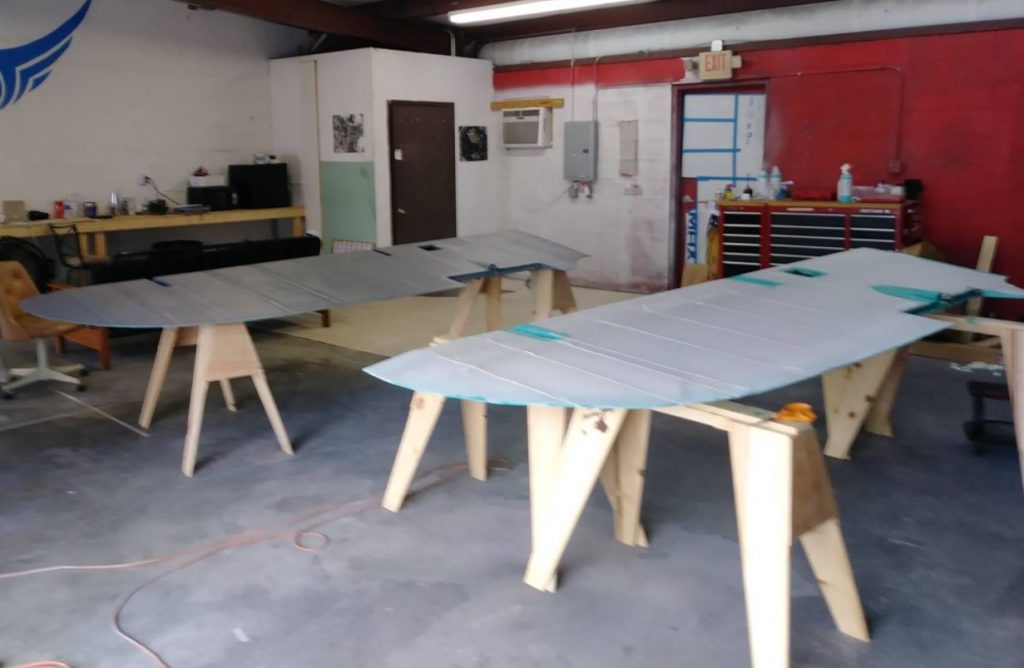
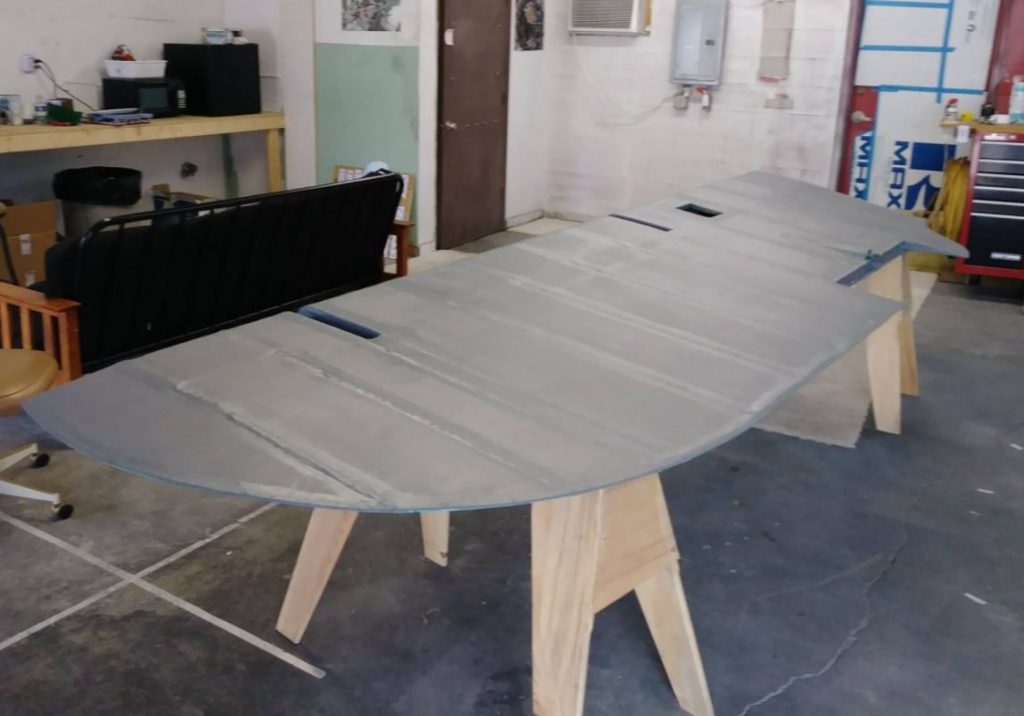
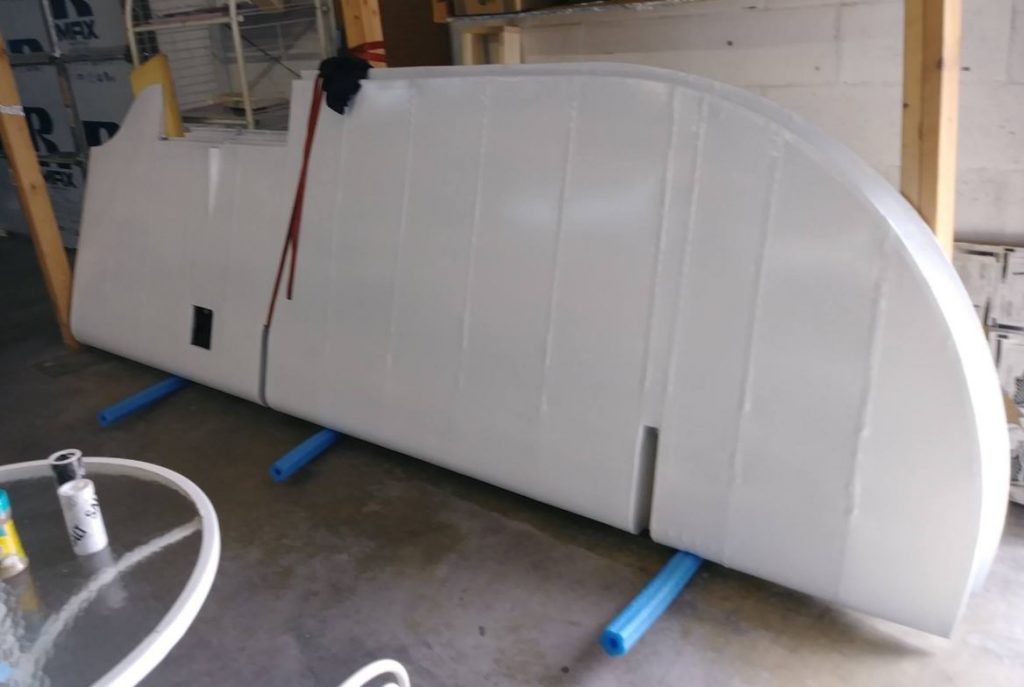
Restoration In Progress
Which to use is a matter of preference based on ease of use and final appearance. Only approved rib lacing cord can be used. Unless a rib is unusually deep from top to bottom, rib lacing uses a single length of cord that passes completely through the wing from the upper surface to the lower surface, thereby attaching the top and bottom skin to the rib simultaneously.
Holes are laid out and pre-punched through the skin as close to the rib caps as possible to accept the lacing cord. This minimizes leverage the fabric could develop while trying to pull away from the structure and prevents tearing.
The location of the holes is not arbitrary. The spacing between lacing holes and knots must adhere to manufacturer’s instructions, if available. STC lacing guidance refers to manufacturer’s instructions or to that shown on the chart which is taken from AC 43.13-1. Notice that because of greater turbulence in the area of the propeller wash, closer spacing between the lacing is required there. This slipstream is considered to be the width of the propeller plus one additional rib.
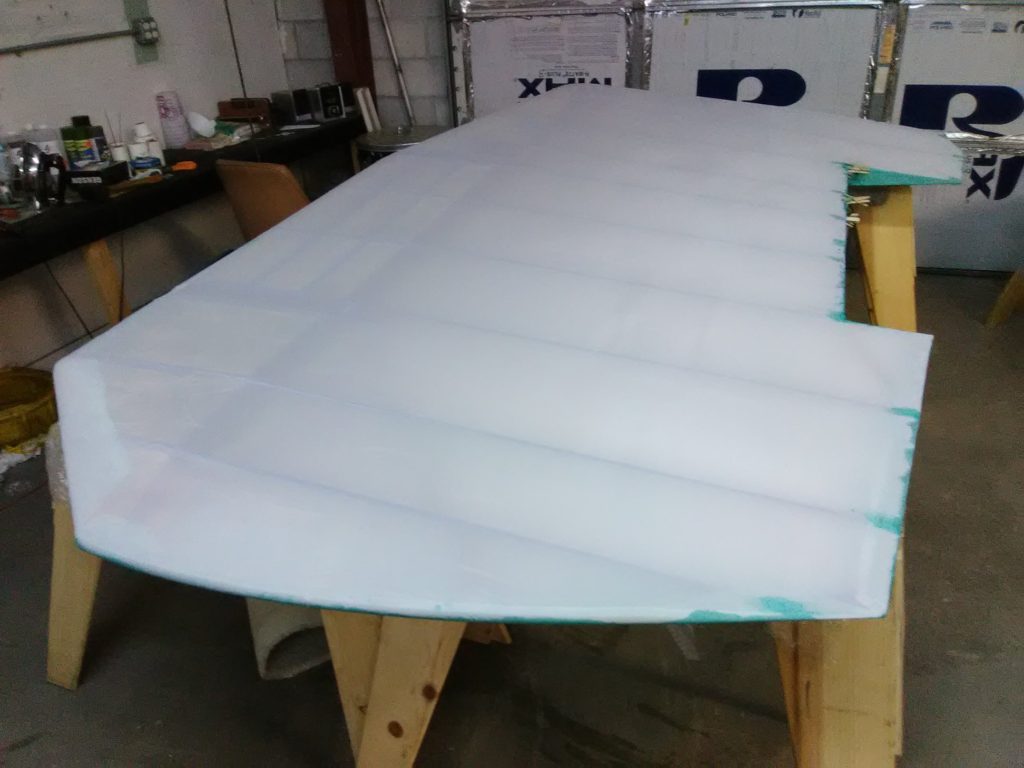
Ribs are normally laced from the leading edge to the trailing edge of the wing. Rib lacing is done with a long, curved needle to guide the cord in and out of holes and through the depth of the rib. The knots are designed not to slip under the forces applied and can be made in a series out of a single strand of lacing.
Stitching can begin at the leading edge or trailing edge. A square knot with a half hitch on each side is typically used for the first knot when lacing a rib. This is followed by a series of modified seine knots until the final knot is made and secured with a half hitch. Hidden modified seine knots are also used. These knots are placed below the fabric surface so only a single strand of lacing is visible across the rib cap.
Structure and accessories within the wing may prevent a continuous lacing. Ending the lacing and beginning again can avoid these obstacles. Lacing that is not long enough to complete the rib may be ended and a new starting knot can be initiated at the next set of holes. The lacing can also be extended by joining it with another piece of lacing using the splice knot.
Occasionally, lacing to just the rib cap is employed without lacing entirely through the wing and incorporating the cap on the opposite side. This is done where ribs are exceptionally deep or where through lacing is not possible, such as in an area where a fuel tank is installed. Changing to a needle with a tighter radius facilitates threading the lacing cord in these areas. Knotting procedures remain unchanged.
Technicians inexperienced at rib lacing should seek assistance to ensure the correct knots are being tied. STC holder videos are invaluable in this area. They present repeated close-up visual instruction and guidance to ensure airworthy lacing. AC 43.13-1, Fabric Covering, also has in-depth instructions and diagrams as do some manufacturer’s manuals and STC’s instructions.
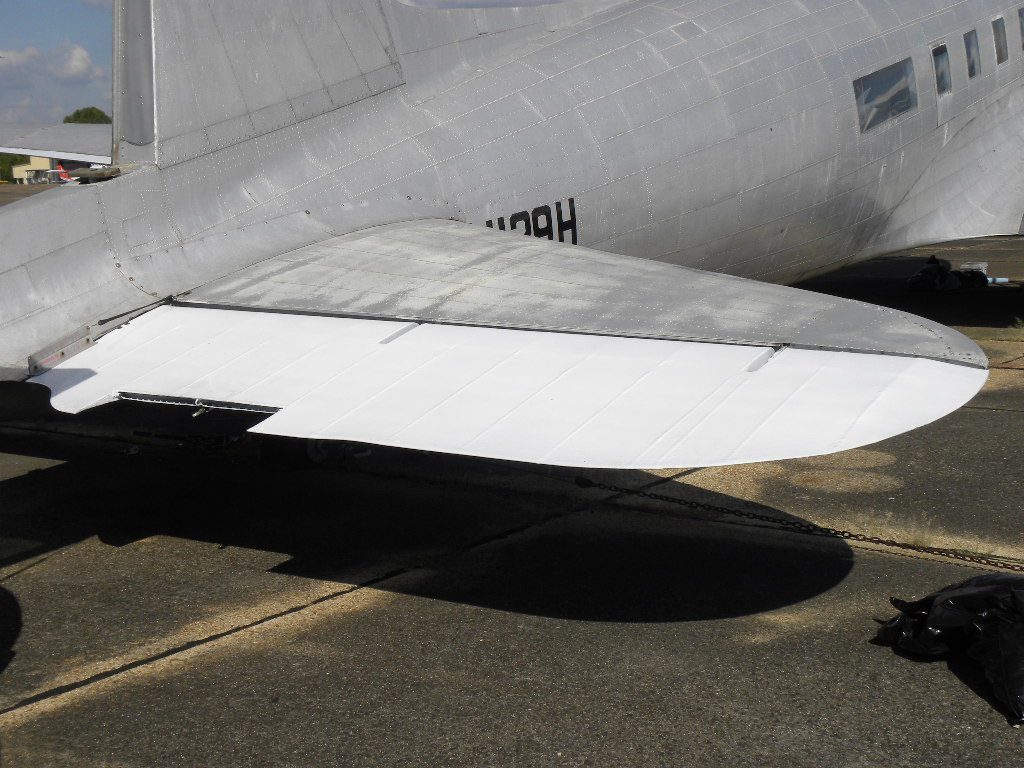
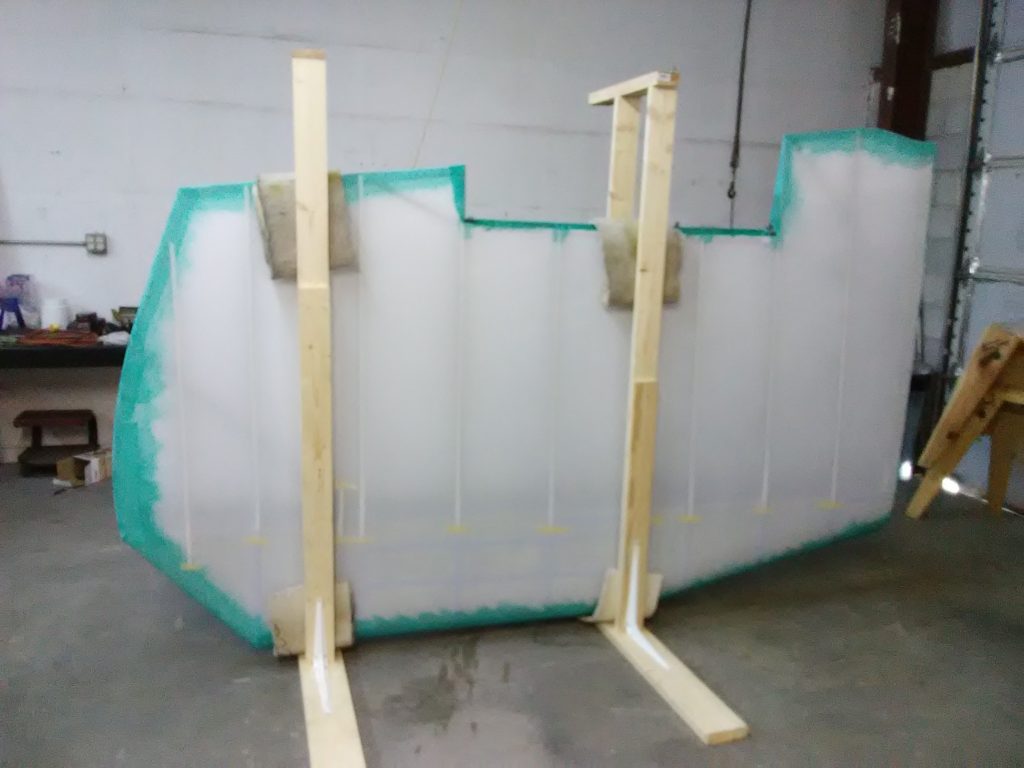
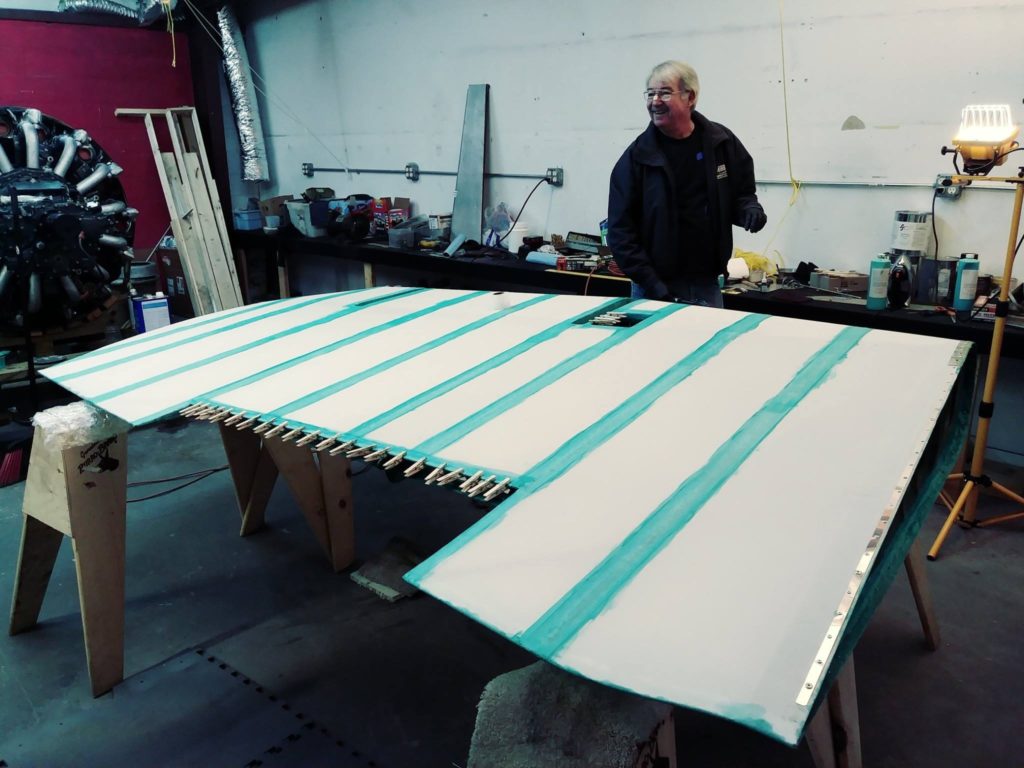
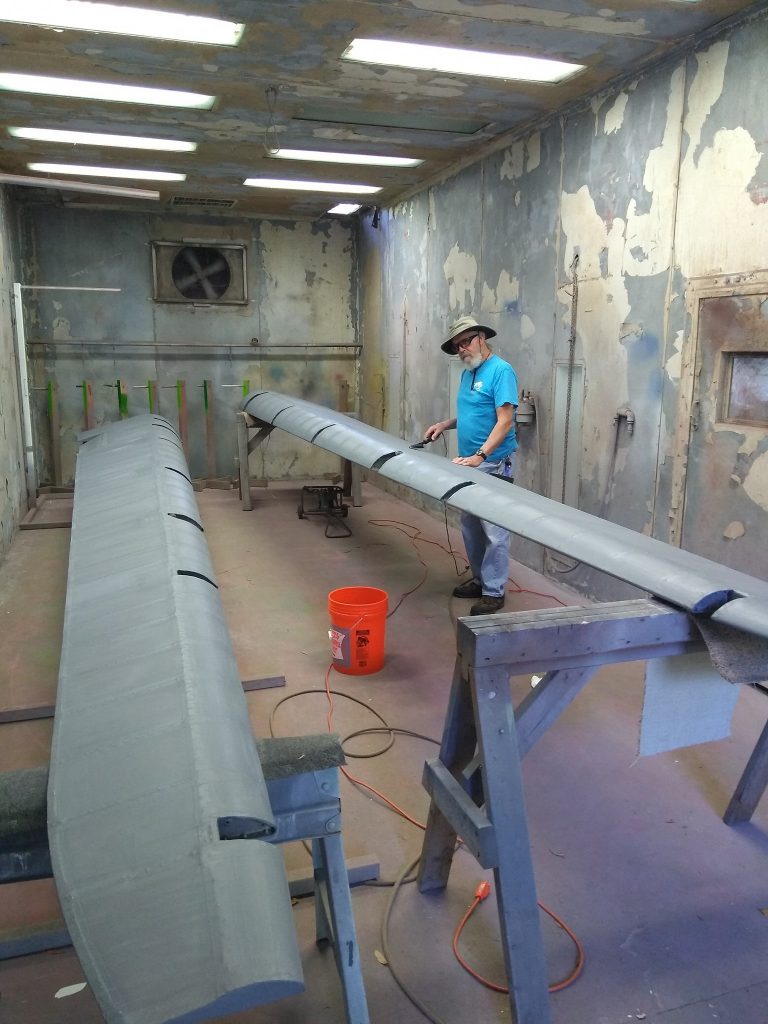
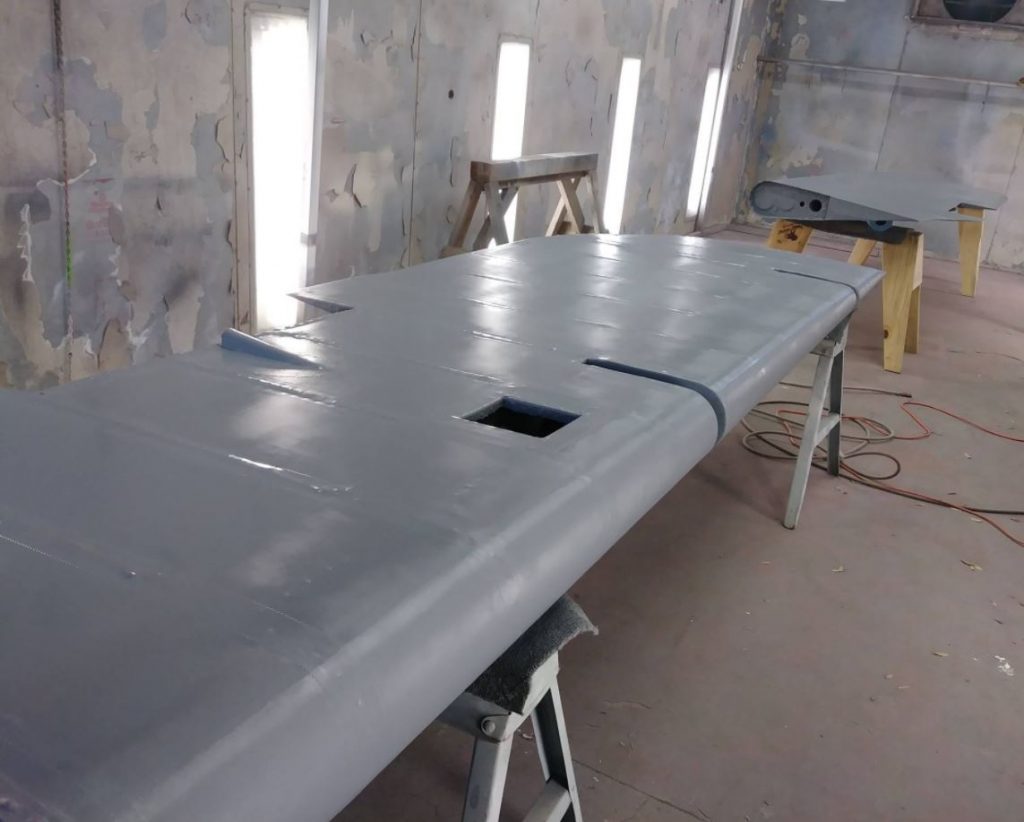
Hanging from the ceiling, Mr. Douglas’ wing aileron control surface is drying after two coats of primer. Three more coats will be added later on.
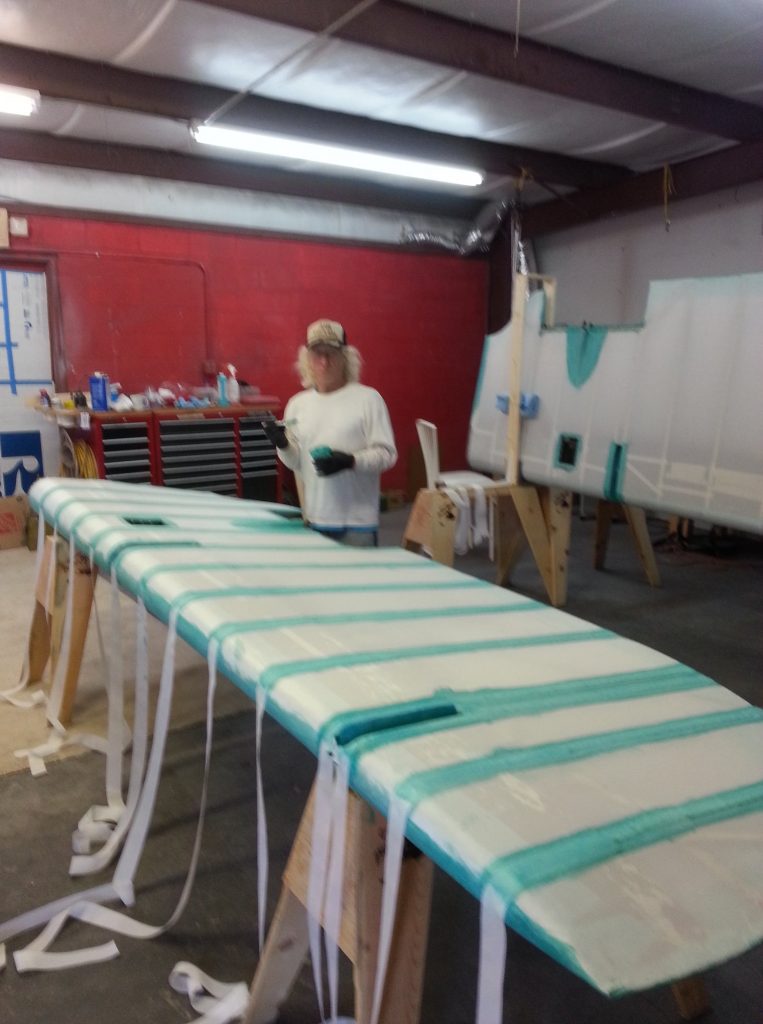

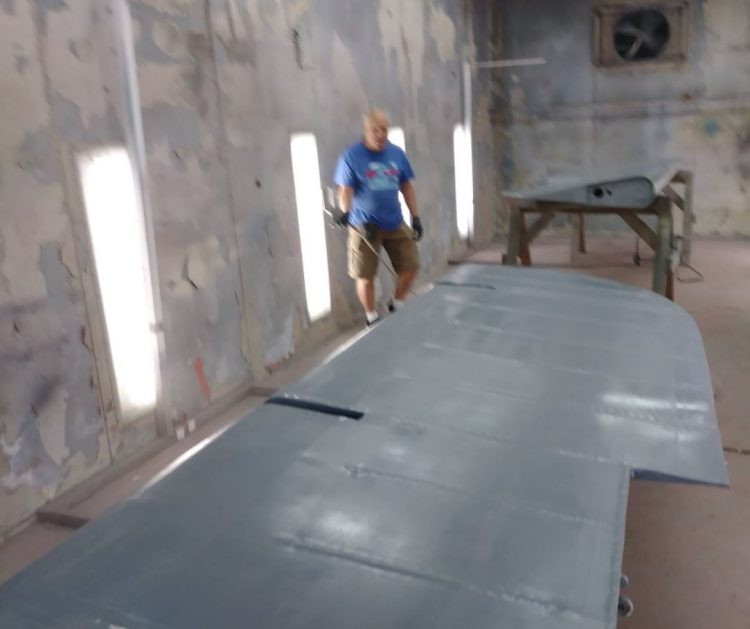
The large wing control surfaces are primed painted in the paint booth at jump pilot Charlie Kenlin’s house.
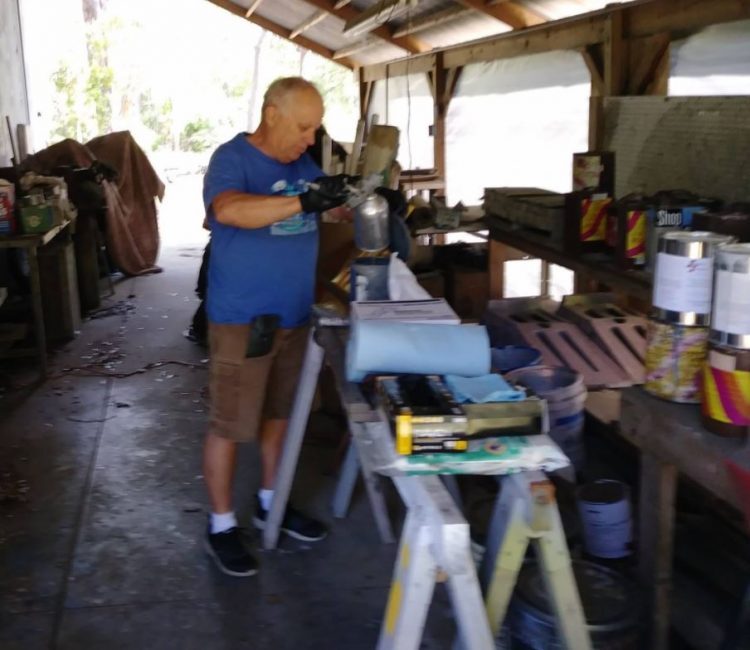
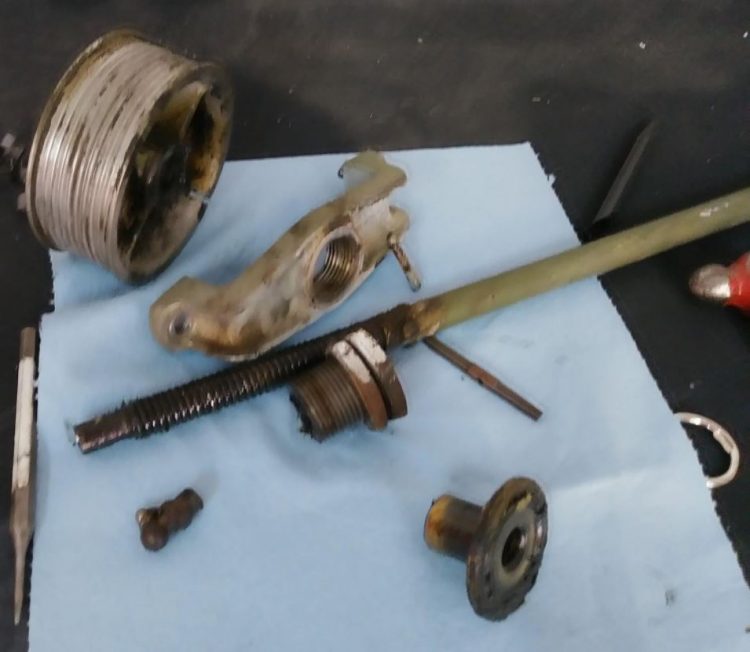

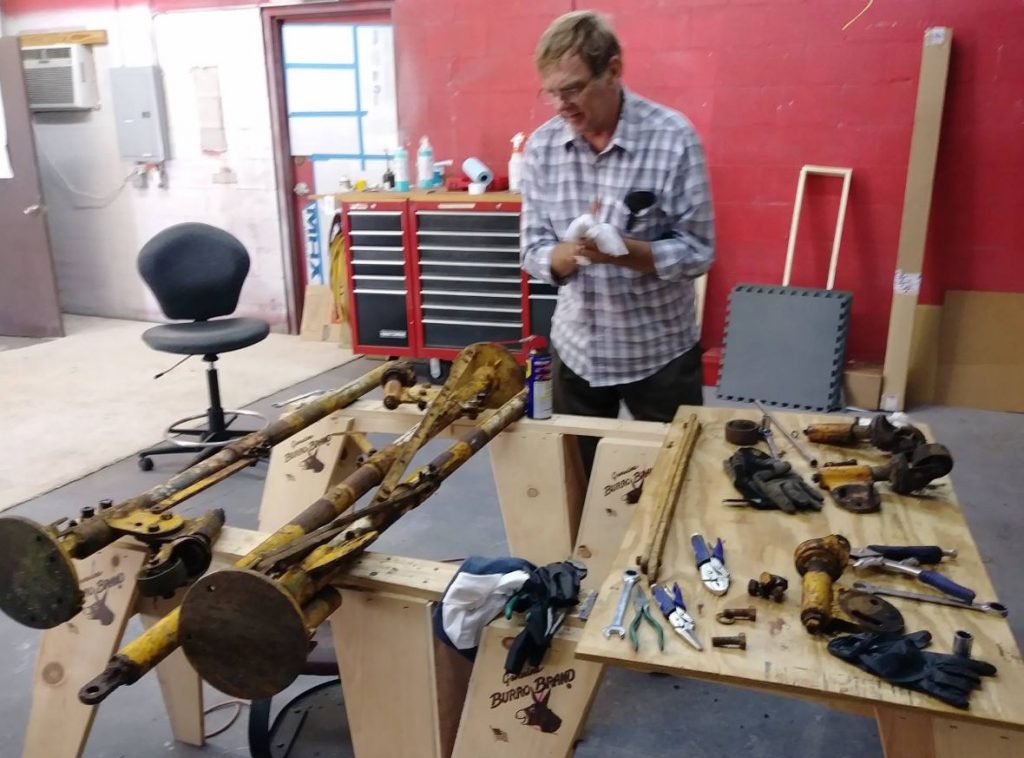
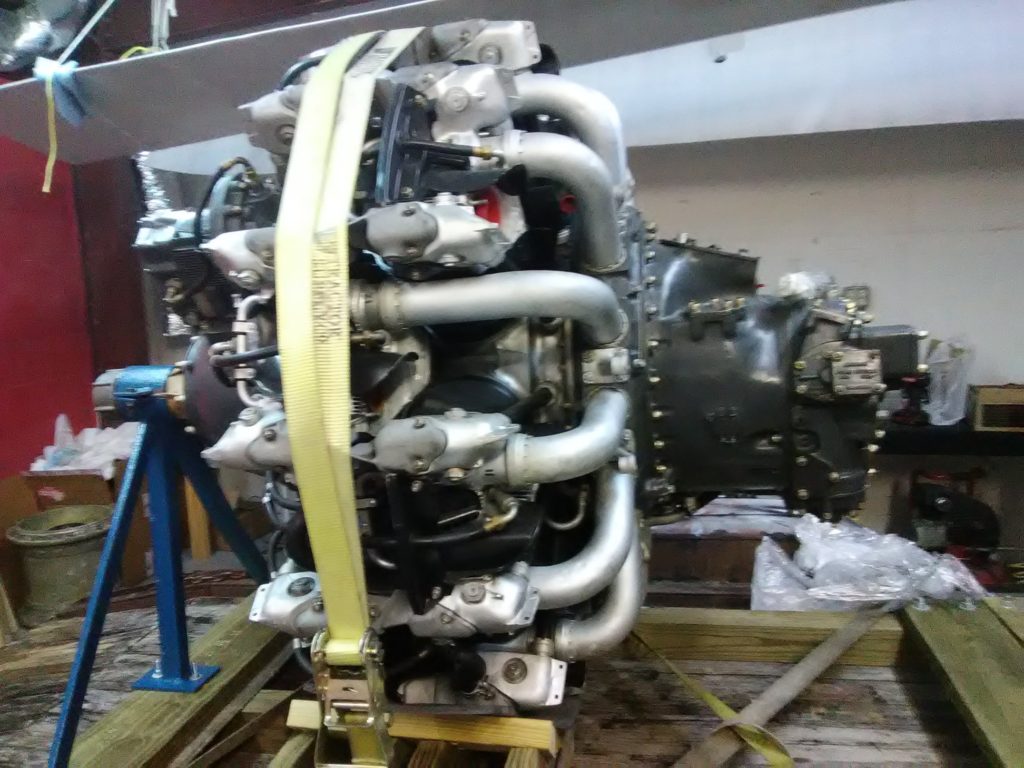
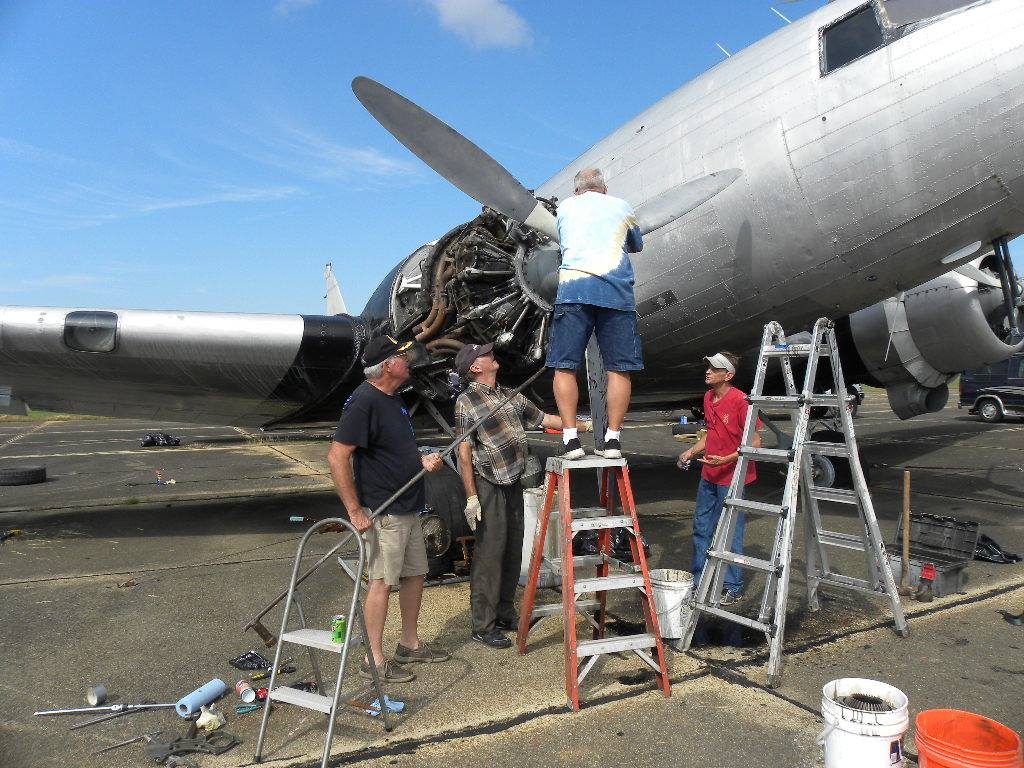
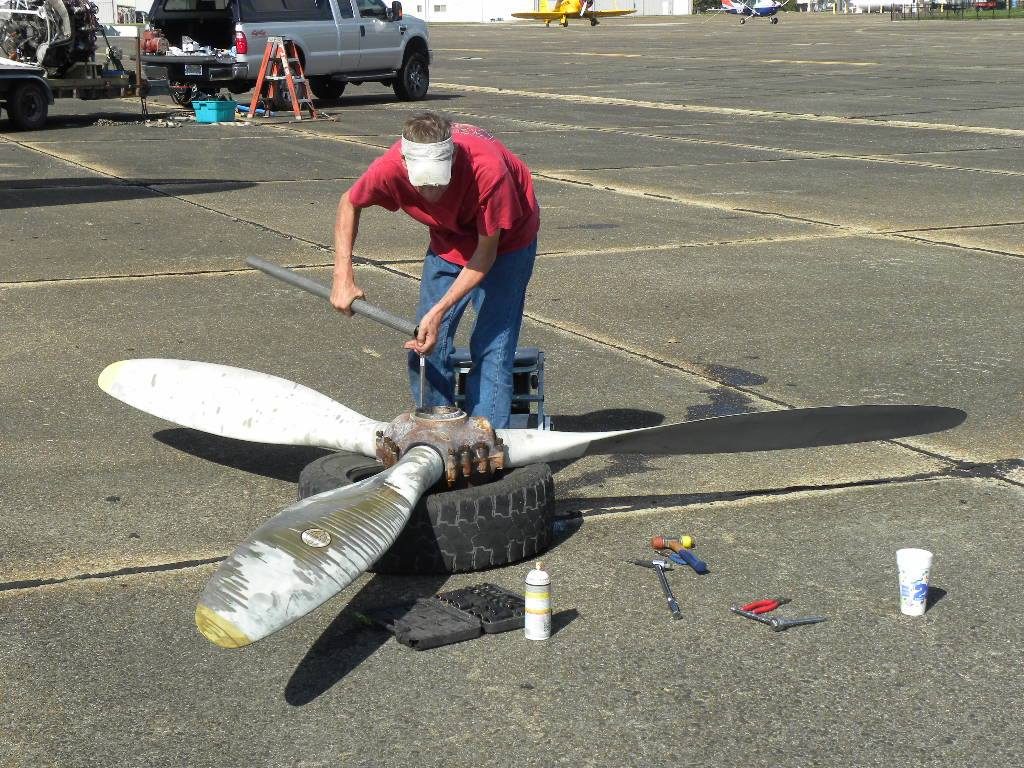
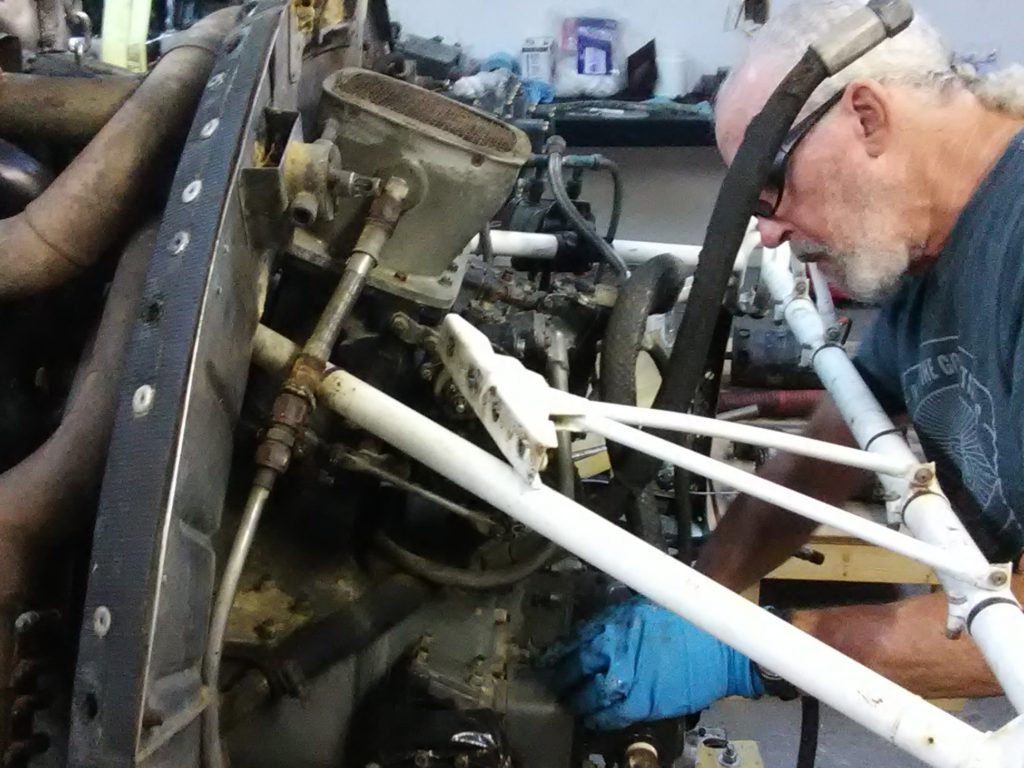
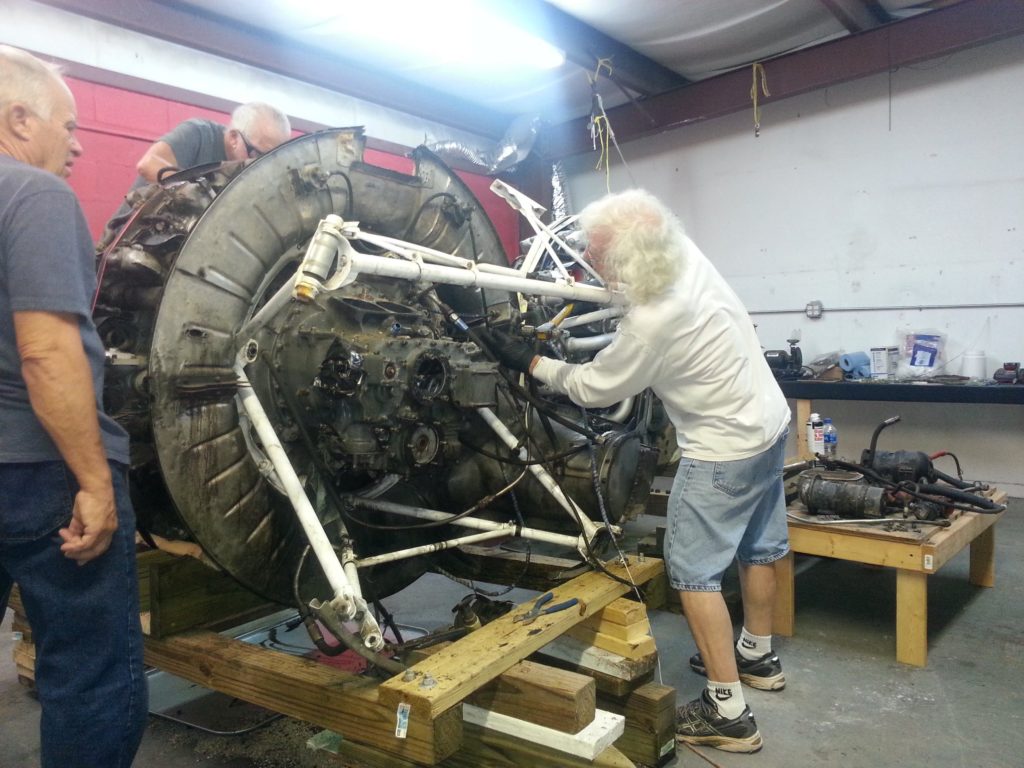
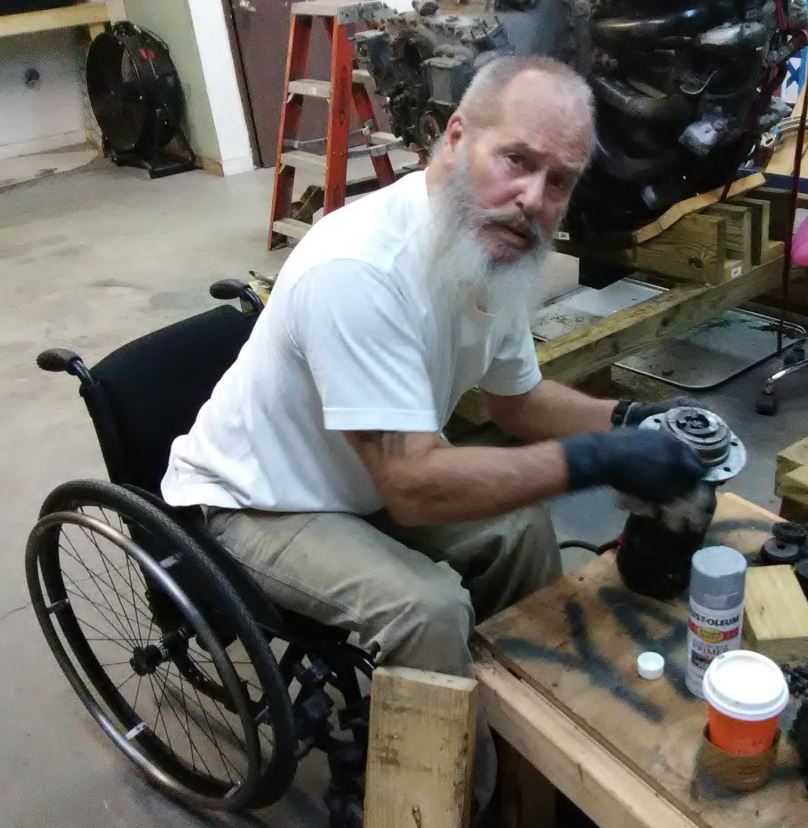
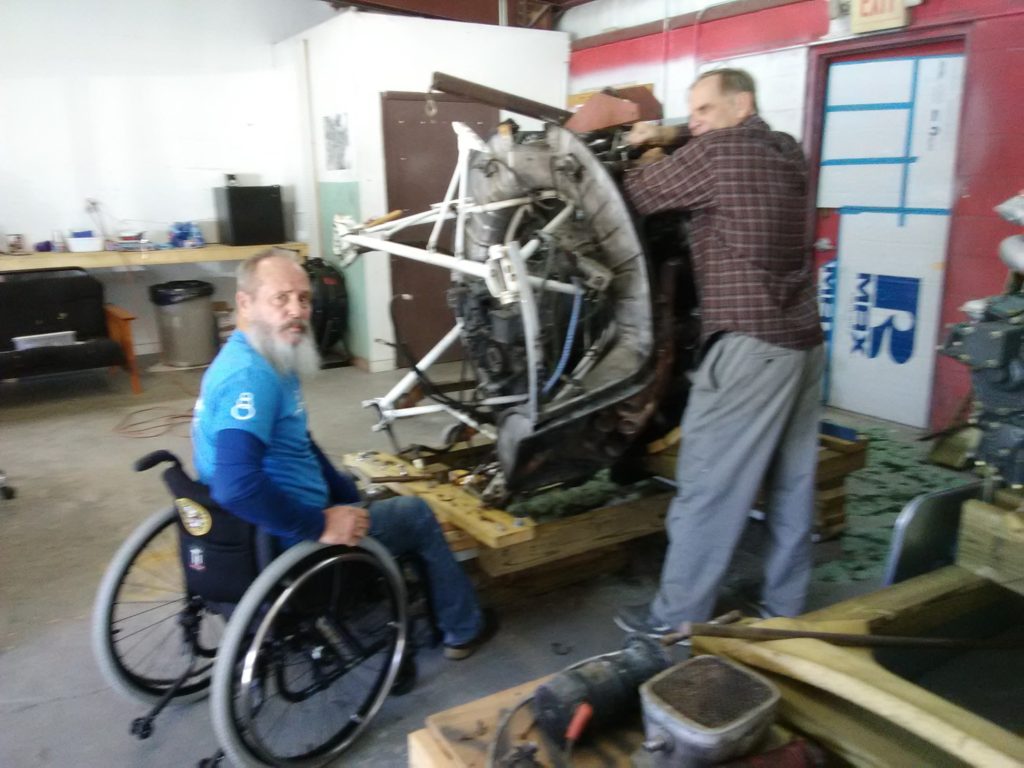
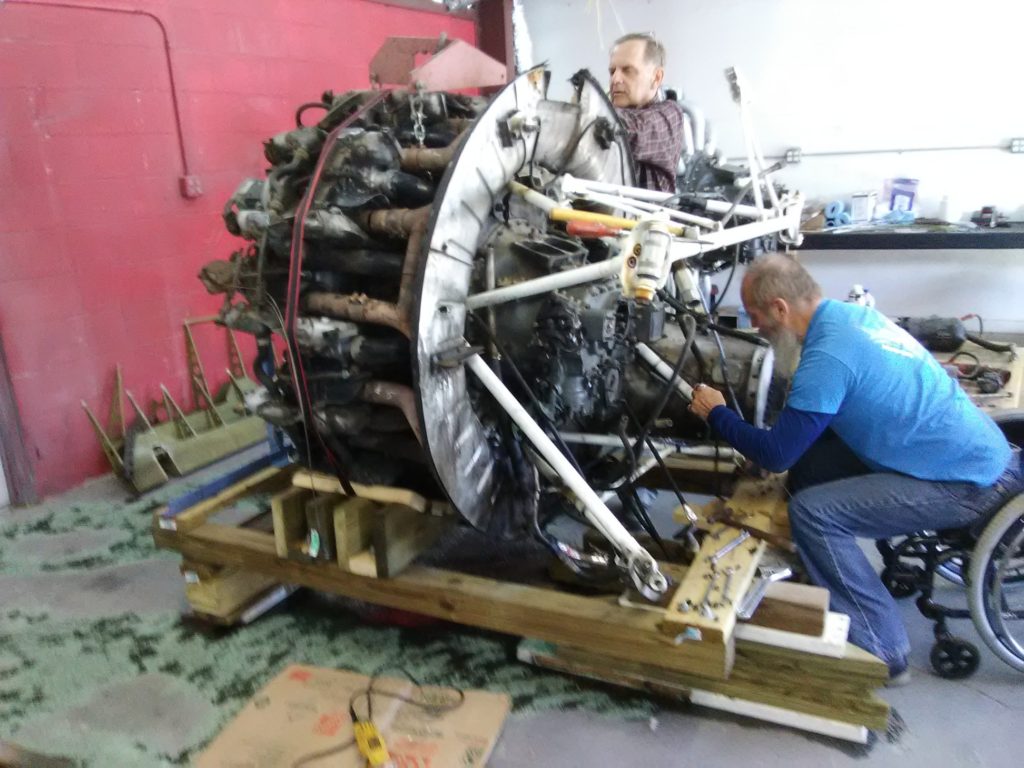
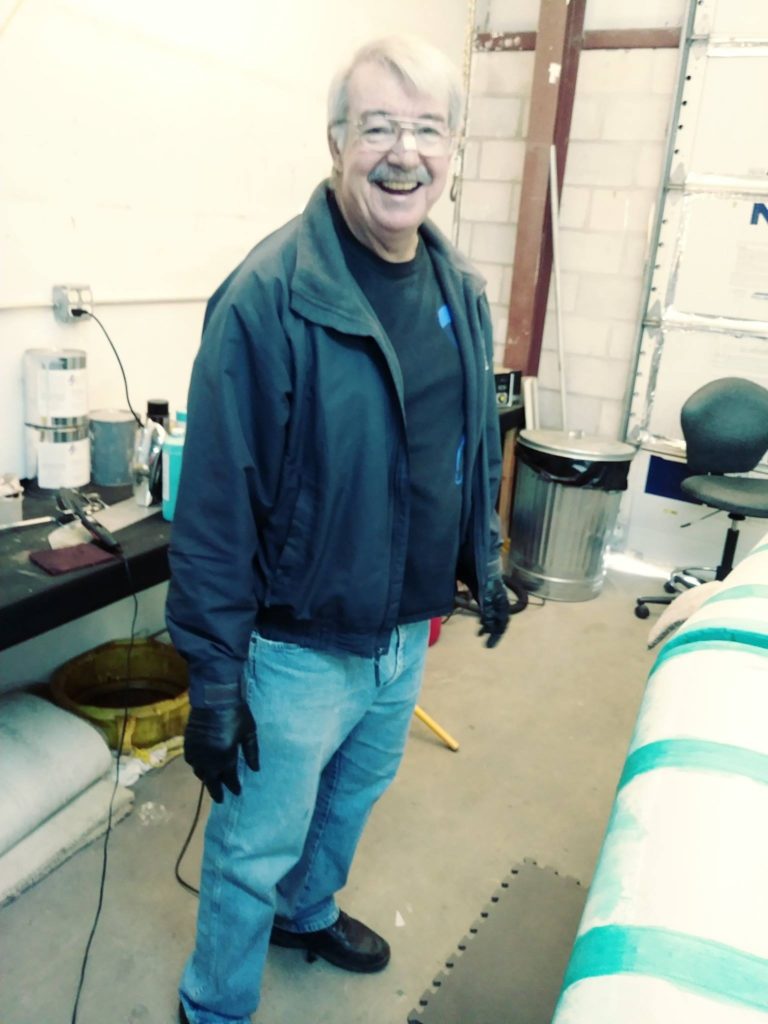
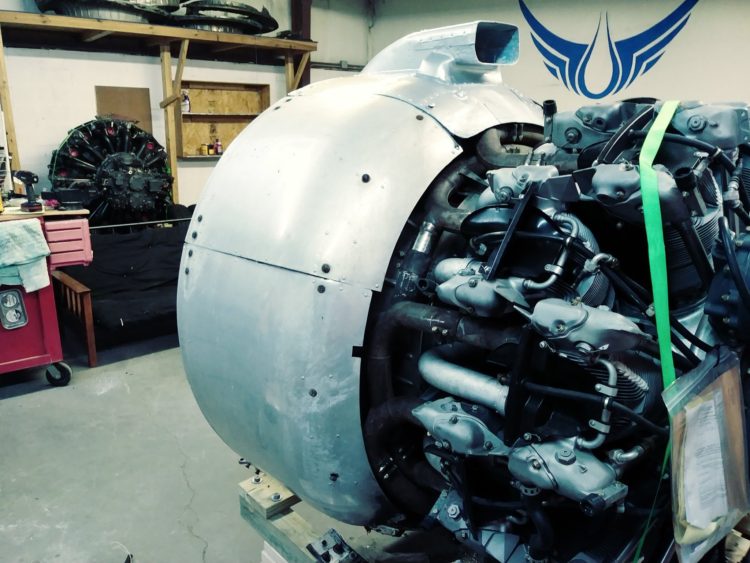
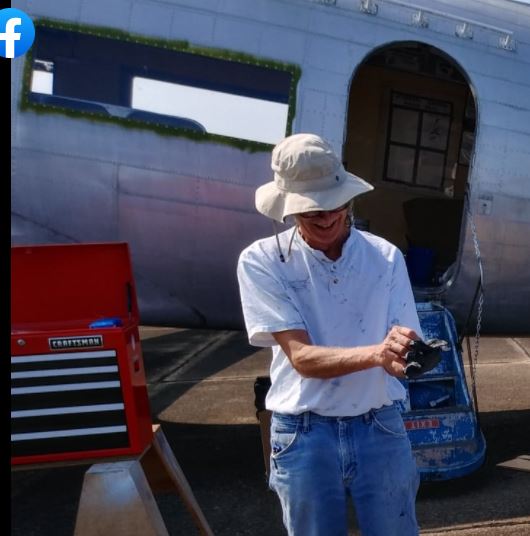
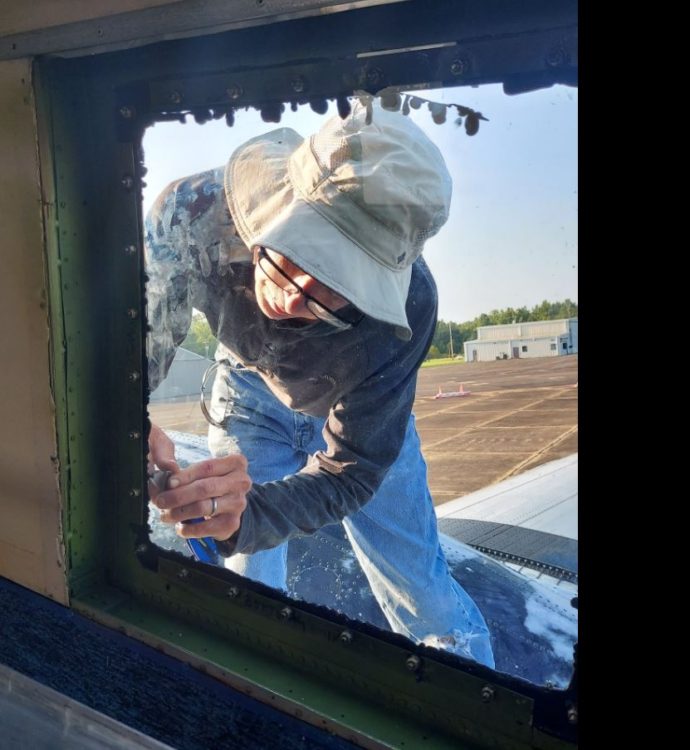
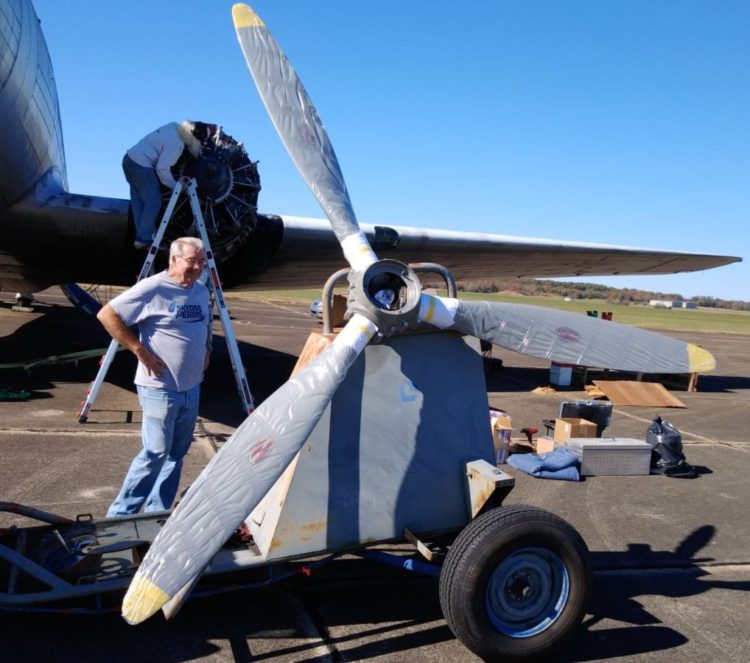
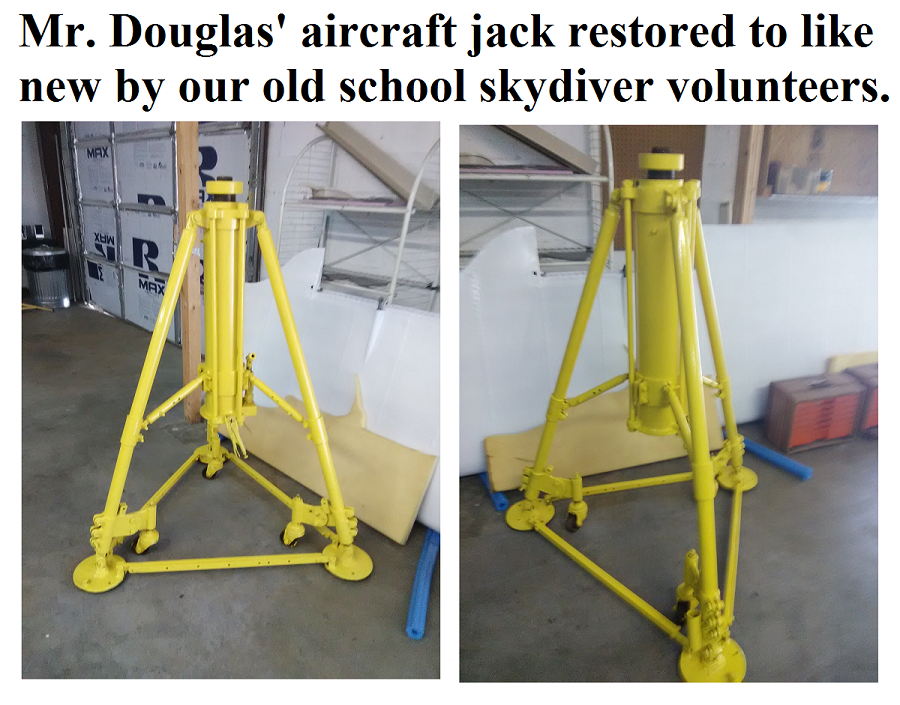
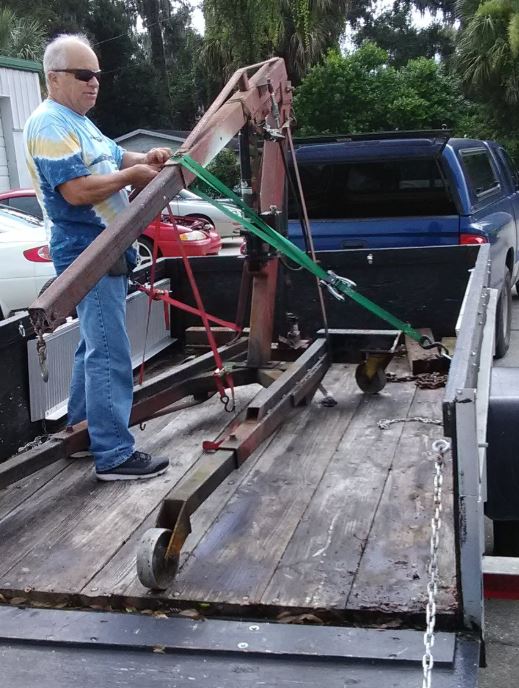
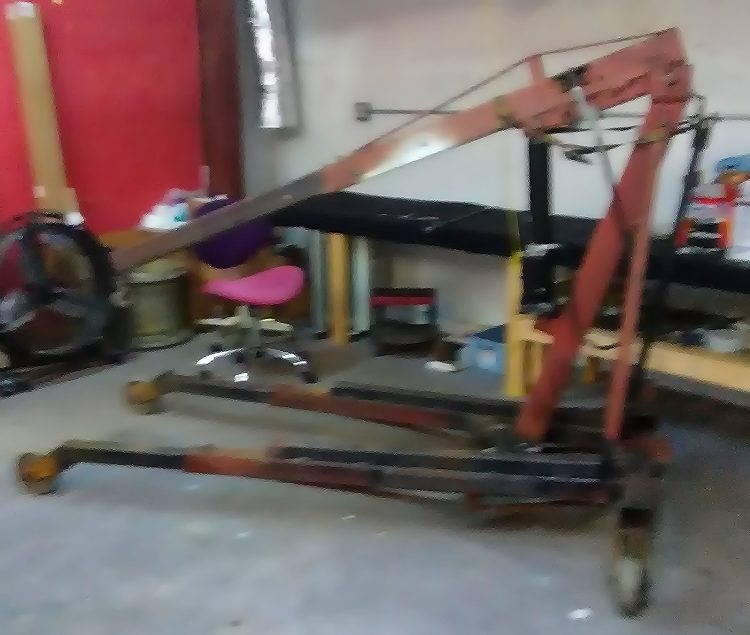
“Old School” professional skydiver John “SOX” Rostoks is restoring the Mr. Douglas DC-3 hydraulics jack necessary for all the heavy lifting coming in the near future. Loving known as “SOX” is one of the several hardworking men and women as the volunteers to make our Mr. Douglas “Fly Again”. Thank You John.
Smiling volunteers have been working hard to get things painted and working, as “SOX” has a labor of love for Mr. Douglas’ aircraft hydraulic jack.
![]()